Saturday, October 28, 2017

Mail Art Play


Hello peeps! Thanks for coming to visit me here. In the past month I've been having loads of fun fulfilling some happy mail requests and some surprises as well. Here is a little summary. Enjoy! 

Mail Art 01


For Roben-Marie Smith's design team, I made a tutorial for some fun happy mail pockets with a 5x7 gelatin plate, and with yummy rubber stamps by Kristin Peterson called Dream Thicket and the Shine set by Samie Harding 

Happy Mail Art Pockets video tutorial HERE


The contents of these pockets are prints from a gelliprinting session, seen below: 


Also, I've been decorating the white cardboard envelopes my StencilGirl club stencils come in. I've had such juicy fun decorating them that it's a shame they're not canvases!

Mail Art 02


Luscious plaid lines, mini hearts, dots and roses!


The whirly mandalas are so happy looking too. Lots of layers with the super matte chalk acylics by PaperArtsy, paired with the luminous Golden fluid paints. I think it's a perfect match!


Lately, I've enjoyed brayering on coloured backgrounds, instead of using a brush or sponge.
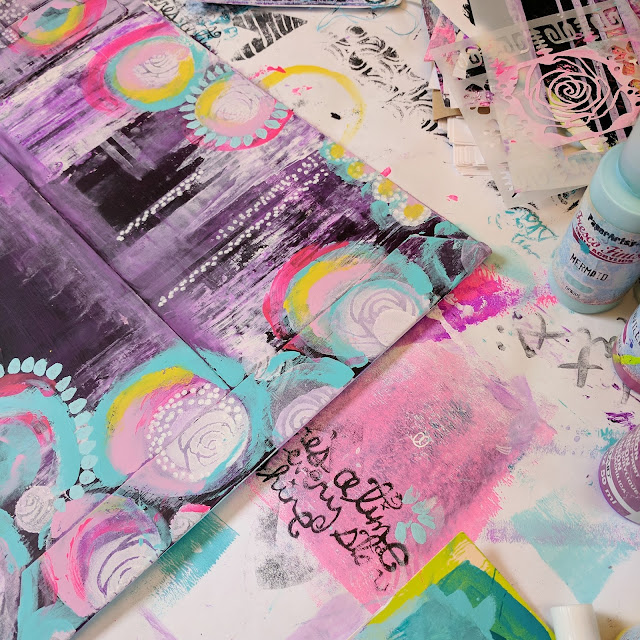
These pinks and purples swatches of colour are the result of my printmaking session for the art video tutorial, mentioned above. I really wouldn't need to add anything else to this luciousness, correct? But, I couldn't stop there, had to add my own marks and more to it!


Misty circles made with diy circle stencils add some more magic...

Mail Art 03


Mail Art 04


Just adore the script rubber stamp from the Shine stamp set! It adds the perfect ''looseness'' to my look. I actually managed to make two similar tags like this.


Now this l'il pocket I made waaaay back in 2015. I did make a tutorial for these pockets. See HERE. I hope to make a video tutorial for them one of these days. It's on my to-do list. 


Making more and more of these little painty index card files, with the added bonus of Art Pops stickers by Roben-Marie!

Mail Art 05


Several things are already tucked away in that book paper envelope. This time I added some streaks of smooshed colour. ♥


Loving this corner...


Wax seals make everything extra special!


Can't resist some glamour shots of the sewn edges on the envelopes! I find the Art Pops sticker in bottom middle-ish (in photo above) soooo gorgeous.


Well, here is the end of my post, I guess. I posted on my Instagram that I'd love to sell some of this type of mail art to you! For a decorated envelope, a wax sealed book paper envelope inside, a few tags and pockets, possibly some of my own stickers I've printed on my printer, and more, I'm asking $30.00 CDN + shipping. Shoot me an email at customscrapbooksbyanna@gmail.com if you're interested! ♥♥♥

Have a great day!

♥♥♥ Anna  ♥♥♥

Wednesday, September 6, 2017

100 Days Art Pops™ Blog Hop


Artist Roben-Marie Smith is giving away six sets of her new 100 Days ArtPops™ digital Collection and three seats in her upcoming Fabrilage online class! Read on to see how you can win!

To celebrate, I and the other design team members are sharing how we use her new collection! 


I flipped through my old Reader's Digest book-turned-art journal, looking for  colours or shapes that spoke to the Art Pops™ design and found it here, on page 353. :) 


To start, I added in some more paint, and then stamped randomly with one of the rubber stamp collections called Dream Thicket.


Next I printed off the smaller circle sheet onto clear sticker paper. See photo below. 


I added one of the circles to a randomly placed area on the page, and then stamped with the same stamp as I previously used on top. 

Then over the centers, stamping with the circle scribbled stamp from the Scrap and Journal Tools stamp set. 

Next, I finger-painted around the larger black stamping, and while still wet, drew in circles with a black Stabilo All pencil.

Add light gesso over the book text in a messy fashion.


Add another circle sticker to bottom left, going off the page.

Can't go without dots somewhere, so say hello to a pink paint pen for the small dots. Larger dots? Paint smudges with finger.


Edge circles with the black Stabilo All, blue paint pen for more dots over the black areas... another circle sticker...the more circles the better, right?


Some minor tweaks to add some shadowy dimension, and we're good! 


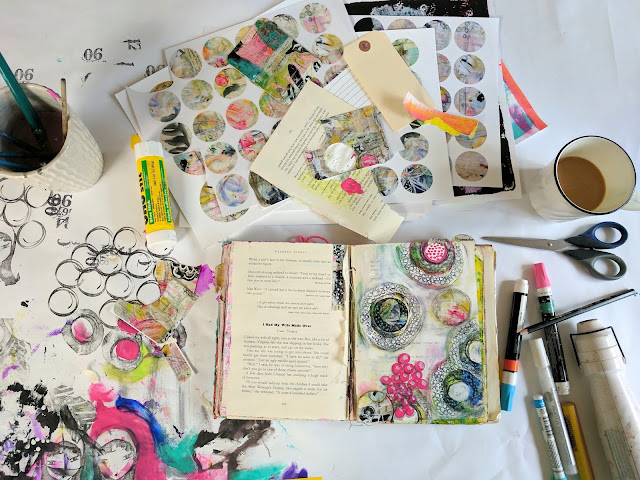
And here's my messy work space once I finished. :)


Now read on below to see how you can win these lovely new Art Pops™ 

ART POPS: the mixed media art pieces inspired by the whimsical, saturated pages of Roben-Marie's art journals. ART POPS provide bold and fanciful POPS of COLOR for your favorite projects including Project Life, Mail Art, Art Journaling and much more. Rock your world with ART POPS!

To celebrate the launch of Roben-Marie Smith's new 100 Days ART POPS Collection we're giving away not one, but two awesome prizes for this blog hop! There are three spots in Roben-Marie's new online class, Fabrilage that opens on September 13 and I am giving away a set of the Digital 100 Days ART POPS Collection to one of my lucky readers! 

All you have to do to enter is comment here on my blog and then keep hopping across to all of the Design Team member's posts, leave a comment on them and be entered with more chances to win.

Here are the links to all of the amazing Design Team Projects so be sure to go and check them all out to be in with the best chance of winning!


(you are here)


Giveaway closes on Monday, September 11 @ 5:00PMEST.

Thanks so much for stopping by!

♥♥♥  Anna  ♥♥♥


Sunday, August 6, 2017

iCreate Collective Guest Post - Being Intentional

Intentional 
is my word for 2017. 


Hello friends! I am privileged to be a guest designer in an art group of ladies of Christian faith called iCreate Collective. Do check out my post HERE!

I share a little of my journey of living intentionally.

♥♥♥  Happy Creating!  ♥♥♥

Anna


Wednesday, July 12, 2017

Black Grungy Art Video Tutorial

Hello all! 

I'm back for a bit here, linking you to a video tutorial I made for Roben-Marie Smith's design team. It's my first project as design team member, and I'm very excited about it! 

Watch me how I use black cardstock to make the pages, create cute pockets for each signature, decorate the Art Pop cards for tags, create the cover and stitch the pages together and more. 

It'll be fun! (And not hard!) 

Check it out here: Roben-Marie Smith's Blog


Lots of happy metallic thread peeking out!


Luscious yarn for the tags.


If you make your own, I'd love to see them on Instagram! Tag it with #blackgrungyartjournal

Have a great day!

♥♥♥  Anna  ♥♥♥