Friday, January 16, 2015

New Art Journal for 2015 - DLP

And on to this year's Documented Life Project! I'm a little behind on blogging, as the third prompt will be revealed tomorrow. I'm actually ready for it! :)

To join this project, go to Art to the 5th Academy

You MUST register there first, and then join DLP 2015 in order to see the weekly prompts. PLEASE read the information, the FAQs, and watch the videos posted. It will help you greatly with any questions you may have, and how to navigate the site. 

And if you are not too shy, please share at the Academy. The Art5 ladies will love you for it! :)

So for this year, I decided to go with the recommended Dylusions Journal. It takes some getting used to. The size doesn't bother me, as it is very similar to what I worked in all of last year. It's the paper! I now know I will work with acrylics more than watercolors, as it takes a lot of applications to get bold color to stay on this bristol-like paper.Or maybe it's me not knowing how to work it!


I jot down birthdays and appointments in this portion of my calendar. Maybe I'll add some doodles as well in the empty spots, like I did last year. We'll see.


I started the page off with awful brown acrylic paint. It was UGLY! So I covered the whole thing in a few layers of white gesso to cover the ugly brown.

Next, I punched circles out of cardstock and adhered them to the page. Then I started coloring around with my go-to supply: Neocolors II watersoluable wax crayons. I layered and layered and layered color to get it right. Really loving that you can see the textures underneath.

Next, I drew lines with a ruler to frame the calendar, and to mark where to write in the days of the week. I just used a fine-line black Sharpie.

Lastly, the title: I created the month names in my FotoFusion software, with the California Rad font from Dafont.com, printed them out, and cut out the letters. Added some black edges with the General's Sketch and Wash pencil to give it some dimension.

Ahem, after I filled up the first two-page spread in my journal, I decided to plan out my pages. So here it is: 


Well, that's it so far. See you next time where I will share the first prompt, Week One.

Thanks for stopping by! I welcome any comments, even just a "hello", I was here. :)


Wednesday, December 31, 2014

Final Page Spread in my DLP 2014 Journal

Hello everyone! I'm back with my photos and details of the last challenge of DLP 2014! If you do not know what DLP is, check it out here! :) 

The lovely Art5 ladies added a last challenge for this year. Week 53: Draw or collage something that begins with the first letter of your first name.

I'm not sure if this would be considered a collage or not. It's a group of four tangles that start with the letter A, as my name is Anna (in case you didn't know ;). I added some other artsy goodness as well. 

Did you know official tangles have names? I love that they have names. Is that the nerdy part of me that finds comfort in that? lol 

I have always doodled. Then I discovered tangles. I have not been the same since. My favorite website for patterns are tangles are www.tanglepatterns.com. Check them out here. Love the site! They are all listed alphabetically.


The tangle names from left to right pictured are: Arc Flower, Arukas, Allium and After-glo. I used library cards that I picked up new for really cheap at a local book shop. I drew in each design, then covered it with clear gesso by Liquitex, and lastly, added color with my go-to supply: Neocolor2 wax water-soluable crayons.


left page


right side


Chevron stencil for texture using modeling paste (It's my favorite technique right now.), added lots of color with Neocolors2 crayons, splatting color all over the place. 


I did the background of each page first by layering color with Inktense pencils and the Neos.


This photo above ^^ was taken from above, pointing down. Loving all the texures happening. I took a white Gelato to finish off the edges. I glued the library cards down with gel medium and matte medium.


The hearts were made with modeling paste and a stencil. The stencil is from punching out hearts from cardstock. The punch is a single punch of a heart trio from Stampin' Up. 
I added greyish-blackish details to the edges of the library cards with a grey Neo crayon and a Sketch and Wash pencil by General's.


I found the Arc-Flower tangle difficult to get even. But that's part of my style, I guess. I can't copy anything perfectly. It is usually wonky, off-center, etc. :)


Added lots of white gelato and neocolors for coloring. This time I told myself I could not use Dylusions sprays, as I want to try different things. 


The 2014 I started with Sketch and Wash by General's, then a Prismacolor marker on top.


I always gravitate towards the Allium tangle shown above. ^^ It's an easy one for me to draw.


Thanks for stopping by! I'm almost ready for DLP 2015! Can't wait to start!


Sunday, December 28, 2014

Christmas in my DLP Journal

Another week in my Documented Life Project journal.

If you are new here, and have not heard of this project, check out the Art to the 5th Academy! I've been following along all year long, and now we're nearing the end! A weekly prompt keeps things challenging and fun! Here is the website: Art to the 5th

Had lots of fun with these pages.


I added a tip-in this week. (A tip-in is another page added in to your art journal.) The cross shown, is the inside part of the tip-in.

 For my calender pages, I did my usual sketch, then added in Neocolor 2 crayons for color.

The header has loads of layering because I just could not get it to look right. Final result has lots of modeling paste, gesso, Dylusions ink sprays, Viva Inka Gold color, and more. I used Staz-on ink for the stamping of the wise-men. The Bethlehem star is colored with the Viva Inka Gold in Rose Quartz color, making it really shiny.


\


The tip-in ended up in the shape of a cross. I used a stencil by Tim Holtz called Latticework, laying it down directly on the watercolor paper, and scraping modeling paste over the stencil. I got some awesome effects with it, as the stencil was "dirty" from previous projects.Once the paste was dry, I sprayed heavily with Dylusions sprays to get the loads of color. Final touches are Viva Inka Gold creamy metallic stuff for the cross outline and a few other areas. 


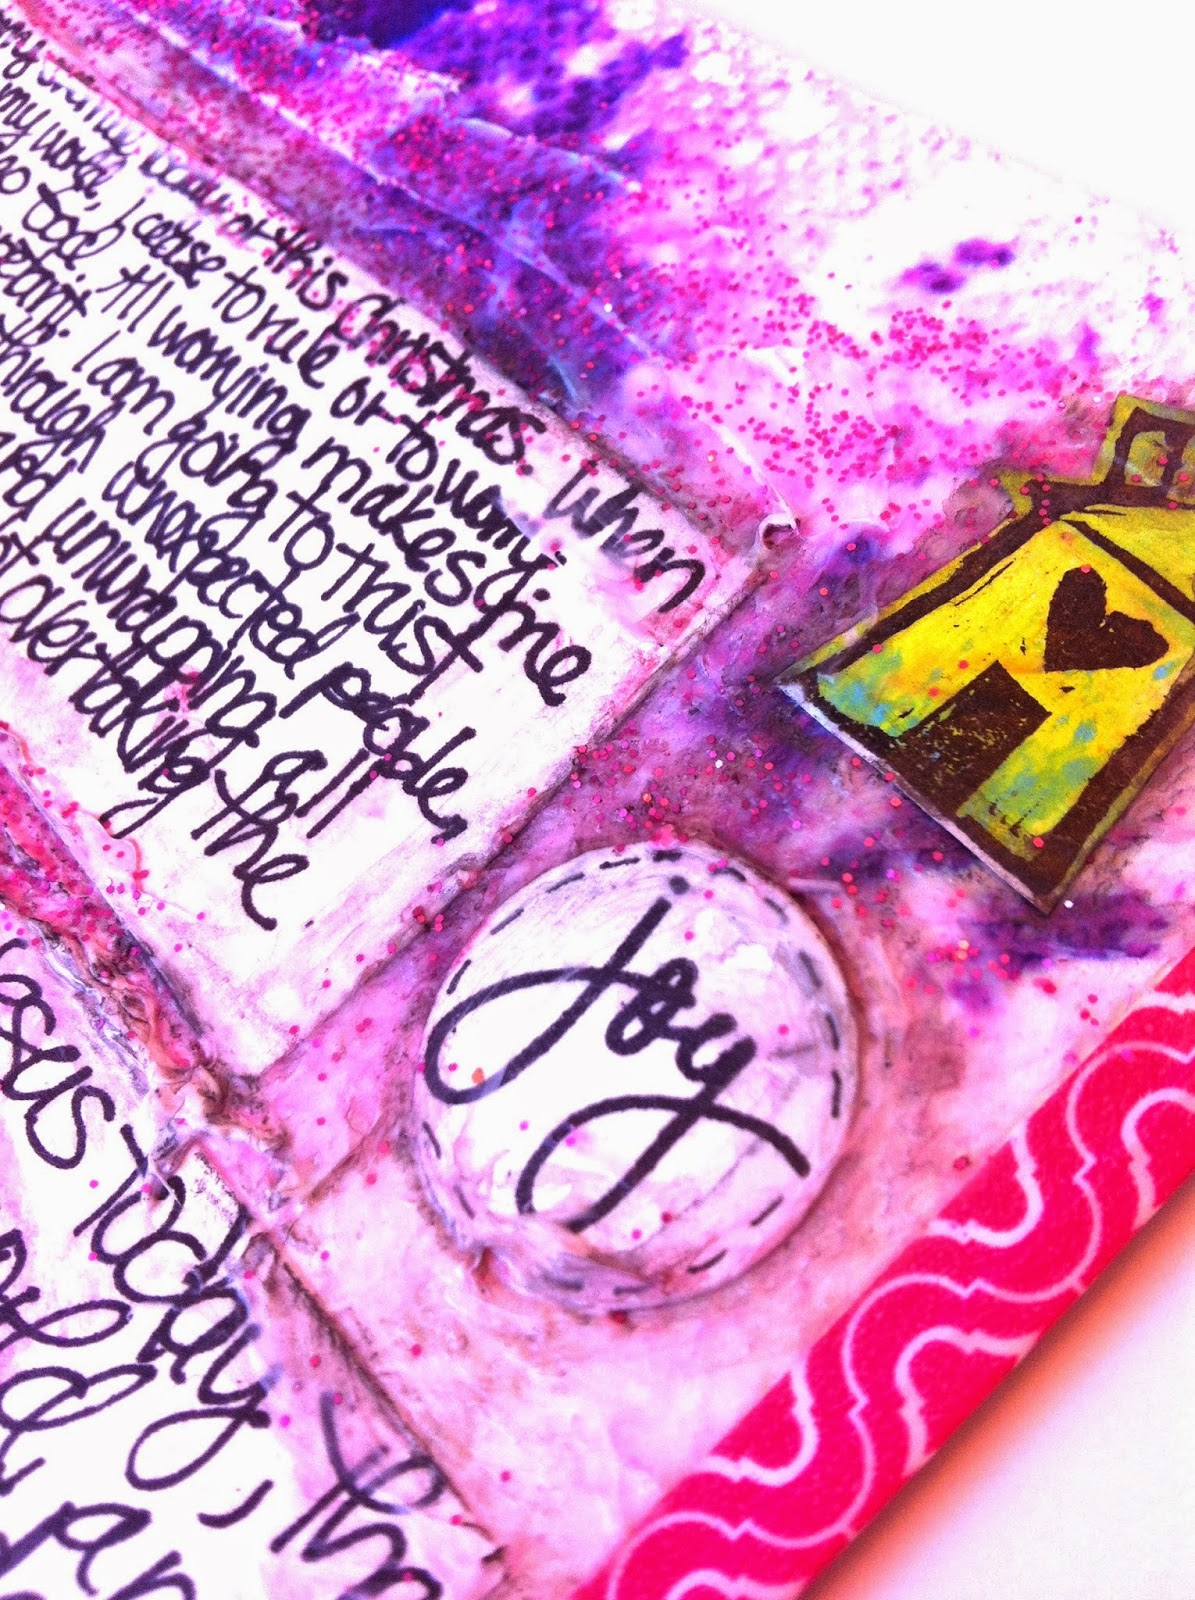
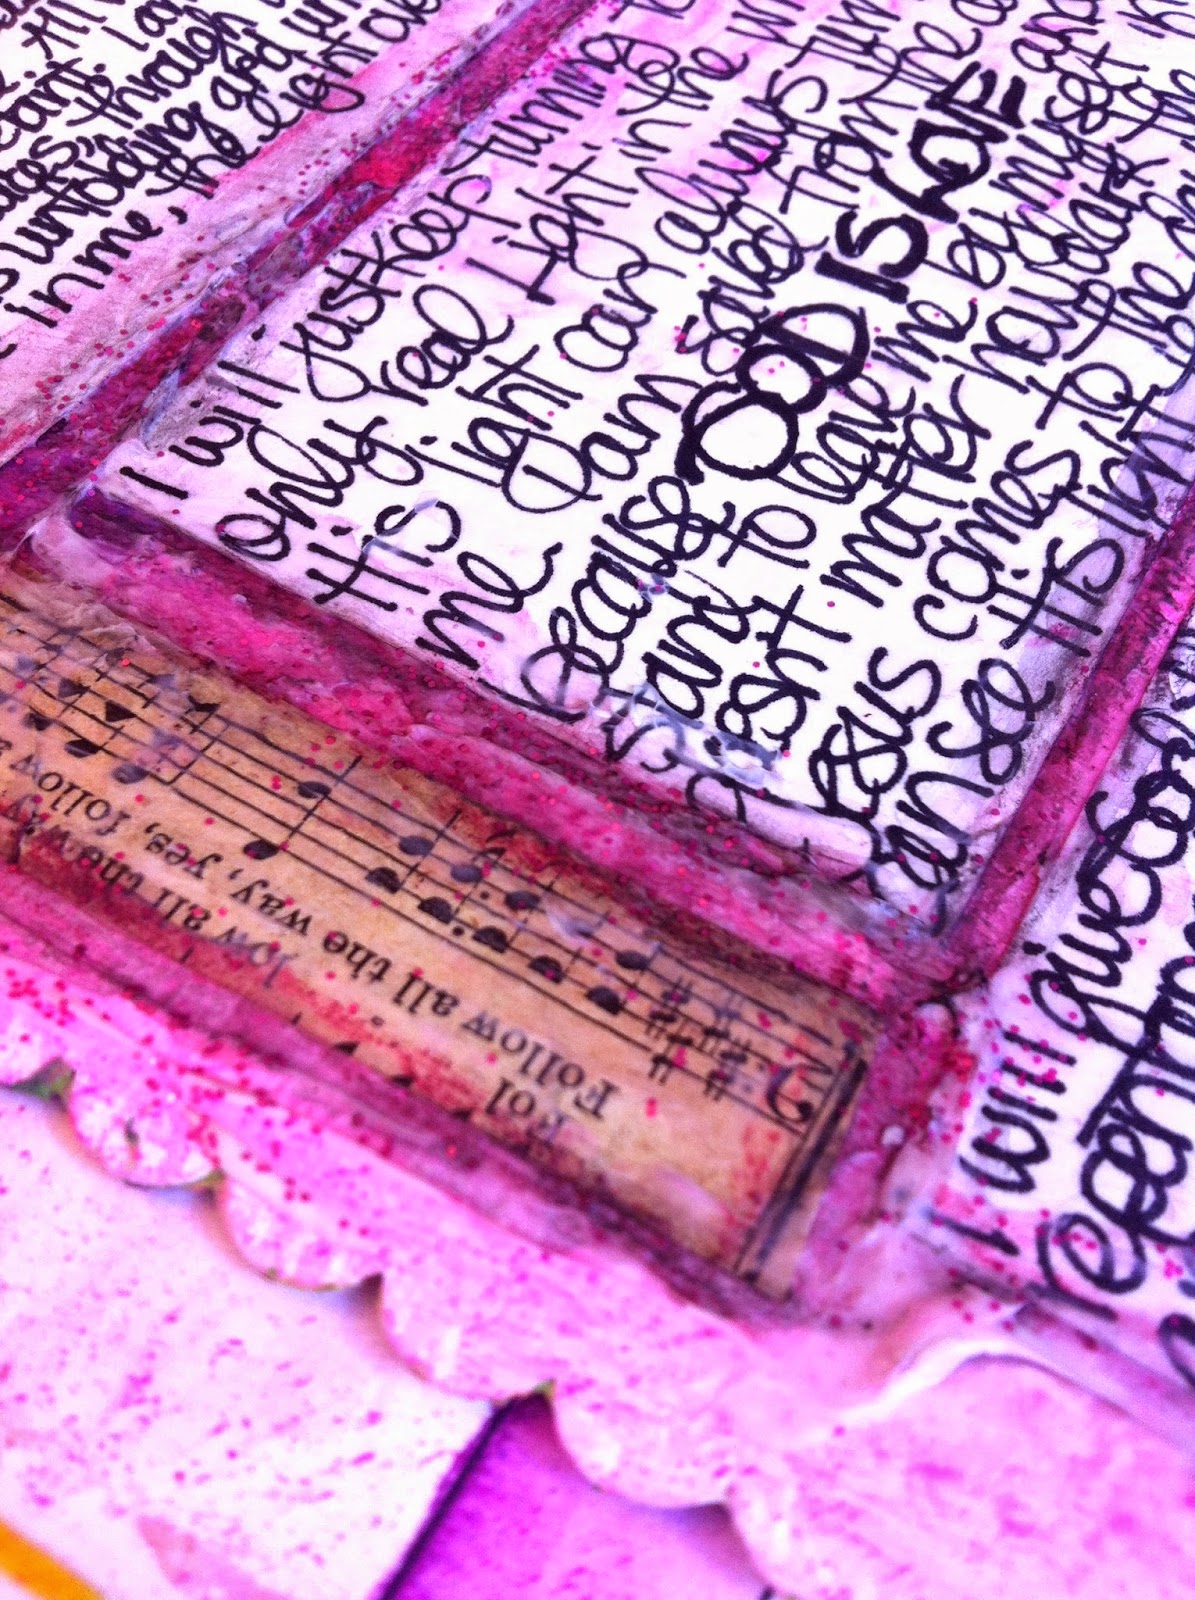
Tip-in closed. Daisy Yellow has an amazing project on her Instagram that I loved very much. Lots of layers of color, so that's what I tried with this page. I messily wrote Christmas devotions by Ann Voskamp on index cards, then put them down on the sprayed background. I then added modeling paste and glitter around the edges for texture. For increased depth, I took several watercolor pencils and scribbled around the edges as well, and wet it down, to engage the colors and add depth to the edges.


Lately I have been using a water brush filled with water to work the Neocolor2 crayons and other watercolors.


I used several pieces of happy mail by the lovely Lois, a fellow moderator on the DLP Facebook group. Finally, I incorporated some of the lovely artsy stuff I have received in the mail! If you don't know what happy mail is, check out my Pinterest board called Snail Mail Revolution! :) 


My background is layered with paper towels for texture as well. I sprayed it with Dylusions ink and water for more color.


Thanks for stopping by! I appreciate each and every one of you. :)


Friday, December 12, 2014

My Coptic Stitch bound DLP Journal

It's nearing the end of The Documented Life Project 2014! Only two more weeks to go! 
Do not know what this project is about? Do go visit the Art to the 5th blog and Academy! You won't be disapointed!  :)


Finally got around to finishing my cover and binding it all together! I'm very pleased with the results. I really like how it all lies so nice and flat no matter where you are in the book.


I used a cheap, SEE-THROUGH, plastic, thin, flexible cutting-board for my front and back covers. I decorated it using paints, gesso, stencils, Tulip fabric paint sprays, and simple white letter stickers.


Two volumes: One bound in pink embroidery floss, the other in yellow. I used all six threads that make up embroidery floss and covered it with beeswax. Next time I will use less threads, as it got a little thick. There are gaps between each signature for that reason, I believe.


Yellow thread stitching in the middle of the September signature...:)


To see what materials I used inside the book, and how I put it together, and links to Youtube videos for the Coptic Stitch method, go to my older blog post here: 

My handmade Journal for DLP


Thanks so much for stopping by!