Showing posts with label Challenges. Show all posts

Thursday, November 12, 2015

Week 15 DLP: I'm Not Crying A River


Do check out this fantastic art journal project if you haven't already! The above letters in green is a link that takes you to it. ;) So rewarding and it's a great education, and it is FREE! Whoot!!

The project I'm sharing here is from Week 15! (Yes, very far behind, but I'm okay with that!) 

Acrylics is the art challenge and the journaling prompt is Cry Me a River. 
Here are the Art5 ladies takes on the challenge:


So, here is my project. Scroll down for close-ups and bit of my process.:) My spin on the journaling prompt is to do the opposite of the quote. NOT crying a river here, rather, I choose to do a very happy looking piece. I had no feel for the crying a river part. LOL.


 I just finished a class called Neon Forest, by Teresa McFayden. Check it out HERE! She is the featured artist for this week's DLP. I have salivated over her Neon Forests for a year at least, and so when I visited her blog to see her take on this week's DLP challenge, I saw the Neon Forest art. I said, whoa, gotta check that out! I had never searched out the artist. That said, I signed up for her class, and made a few pieces following her suggestions. Love them. I decided to deviate from the regular grey background with pink. It DOES NOT HAVE THE SAME NEON POWER as the grey, and frankly, (See the bottom of this post for my class pieces, with the grey background.) I look like I'm on crack or something. LOL I promise, I'm not! Teehee


I started with the background, blending pink and white Dylusions paints in a circular motion in the middle with a round Ranger paint applicator. Painted funky flowers, fun little leaves, stems with heavy duty acrylic paint and outlined everything with a grey Stabilo All pencil.


Stencilled a vine with the Tracks stencil by Tim Holtz and added more detail marks to the halo in the middle with a really old stencil called Circles n' Circles TCW79 by The Crafter's Workshop. I also added heavy duty acrylic paint to some of the "leaves" I made with the stencil, to give it a bit more texture. 


Added a yellowish paint in some areas at the bottom of the page. Looking at it now, I feel like I should have added more to the bottom to ground it better, but too late now, I'm posting! :)


Loving the messy palette of paints!

Ooh, and had to sneak in a peek of my newest Traveler's Journal. It's from The Foxy Fix, and it's name is Pixie Dust. ♥♥♥ (But that's a different post!)


My very first Neon Forest. I have lots to learn, but I like it, as it portrays my moving into unknown territory, out of my comfort zone. Painting precisely with paint brushes is something I definitely need to practice more! And my background area needs more blending...and..and...but I'm happy overall!


Neon Forest #2: I tried a really fast version for the NaNoJouMo 15 minute version, which I'm participating in the month of November. I made this over two-15 minute time slots. I hope to blog about that project sometime soon!

Monday, July 20, 2015

DLP Week 23 Illustrative Art Journaling

Hello fellow art journalers! This post features my latest project for The Documented Life Project 2015 - The Journal. It's hosted by the lovely ladies HERE

This is my 14th challenge completed, out of 29 prompts already LIVE. I am not stressing that I haven't completed all the challenges. I want to keep this fun and stress-free, and for me, that means not worrying about staying caught up. :)


I have loved nature and travel illustrative journaling for a very long time! It all started when I read Charlotte Mason's books of a home educating philosophy, particularly of studying nature through nature study and art journaling. (See links towards the end of this post where I share my favorite books about nature journaling. )I've been smitten ever since! So when I read the June 6th DLP Art Journaling prompt, Illustrative Journaling, I was excited! I thought about it week after week, but never actually took the time and courage to work on it. Illustrative journaling is not something that comes easily to me. I struggle with "seeing" in order to draw something. Definitely a wanna-be! One of these years when I have the creative energy, I will really dig in and learn and practice this type of art more.

But, I did do a little bit this past weekend. It's nothing spectacular, but I made an effort, and that counts!! 


The first step for me was to pick two types of leaves near my art table, I mean picnic table, since I'm camping and everything...I traced the shape, then roughly drew in some details, not worrying too much about trying to make it look realistic. Next, I used Inktense pencils and a waterbrush filled with water and Dylusions inks to color my rough sketches. While I was painting, the boys came back from fishing, and lo, my oldest son's first cast into the water brought up a fish! I documented it there in the bottom right corner while he was telling us his tale. That poor fish doesn't really look at all like the Northern Pike, but I think it does resemble a fish, right? Please say yes? LOL

Not long after, my youngest boy came to me with a beautiful feather, so I drew that too. :) I also added in little details about the food we ate, and also some conversation around me. We camped with friends. It was a very simple, slow, relaxing weekend! Our favourite way to vacation.

I finished my whole project up by tearing my painting out of the mixed media sketch book and glueing it into my Dylusions journal. I had prepped the two pages weeks ago, when I was playing with my new Dylusions paints and various stencils.

DONE!!


During our camping weekend, I wandered the beautiful campground and river banks while my hubby and boys swam or fished in the river. My senses soar in nature like this! Lovely trails to the river, bordered by the sweet buffalo bean wild flowers and sweet clover.


Little discoveries here and there.


Levi, Liam and I watched a video earlier in the week about an adventurer building a wattle and daub house in the bush, using absolutely no ready-made tools, and one of the things he did was make a fire by rubbing a stick a certain way. Levi tried it, but did not meet with success. It's harder than it looks!


We camped really close to home, and we had promised to do our neighbor's chores while they were away, so I drove home every morning and evening to tend to their animals. On the way back one evening, I saw this beautiful rainbow. God's glory all around us!!

My fave books about illustrative and nature journaling:

Keeping a Nature Journal: Discover a New Way of Seeing the World Around You by Claire Walker Leslie
Handbook Of Nature Study by Anna Botsford Comstock

Another great resource I haven't pursued very much, but I know will be a gold mine:
 Danny Gregory.

I have one of his books that I've started to read. Need to finish it! Art Before Breakfast

I get lots of inspiration from the pins on my Nature Study board on Pinterest HERE.


Thanks for visiting my blog! Have a great creative week!

Anna

♥♥♥

Monday, February 16, 2015

Yarn Bombing , the Ents and Lots of Gesso

Week 5 of The Documented Life Project 2015 - The Journal. 

See here for more information. Art to the 5th Academy

January Theme
The Blank Page and How to Face It!
January 31
Art Challenge:  Under Paper (paper on your work table that gets all inky while you work)
Journal Prompt:  What Lies Beneath?


A sweater (yarn bombed) tree, layers and layers to cover mistakes, a quote from J.R.R. Tolkien, and just plain fun.


I combined several things with Week 5 of the Documented Life Project challenge.
Pictured is one of my yarn bombed tree on our property.
I have been meaning to create some art of my trees, and now I had the perfect chance! I am taking Junelle Jacobson's online class called Saturday Mornings 2: Love and Whimsy. The first project was to decorate wooden blocks with these adorable sweater trees. For now, I'll be content with this page in my art journal instead of on a block. 


So....
Layering...

I forgot to take pictures of my process of the VERY BEGINNING. Above photo already has quite a few layers going on.  


You can still a bit of the chevron gelli-print peeking through. ^^


 I started adding some stamped images and blobs of acrylic ink to the under paper, but it looked awful, So, I covered it up with gesso,  running a pencil through the wet gesso in loops at the top left. Then I added splatters of Tulip fabric spray paint, and yellow Prima Bloom ink spray. The gelli-print was printed on white cardstock, and so you can still see the lines of the page. I like that. :) 


The yellow Prima Bloom spray and then blotted with a paper towel, create the texture above. Used partially dried out gesso for the edges of the under paper, so it created some fun lumps. Teehee! ^^ 


Embedded the paper towel for a bit in the wet gesso as seen above. ^^ Added some of that yellow spray here too with some pink Dylusions, making orange. 


 By my calendar, I had doodled with a black Sharpie, but it looked awful too, so I covered most of it with gesso. 


 The circular pattern you can still see through the gesso here was made using one of my hand-carved stamps, in which I had added Neocolors 2 to the middles. Didn't like the effect at all. The pink piece of paper to the right is a piece of cardstock which I deliberated on including on the page. At this point I did not know yet what I was going to create on the page!
Played around with various things by placing things here and there, to see if an idea would come. I went back to it over and over to stare at it for about a week before the idea hit! A tree with a sweater!


On to my tree sweater! 

At the same time as attempting this DLP challenge, I am also trying to keep up with Julie at Balzer Designs #28patterns on Instagram. So I keep a keen eye on anything with a pattern. 
So, with the combination of my mind on patterns, Junelle Jacobson's sweater tree class, the DLP challenge of What Lies Beneath? and making a mess playing with various art supplies, my eyes fell on the patterns of the paper towel...

Lightbulb!

This square-ish pattern would look so cute watercoloured, and cut into squares, mimicking the crochet motifs on my yarn-bombed tree!


I colored in the square using a few different coloured crayons from my Neocolors2 stash, and then wet the towel with a brush. Next, I cut out each square to approximately the same size.


Next came the cutting out of the tree and covering it up with book paper using matte medium.


 I applied a thin layer of Raw Umber acrylic paint to the tree, allowing the book text to still show through.


Next I glued the squares on to the lower half of the tree in a diamond shape configuration. 


Next, some scrapbook paper strips to upper branches.


Next, leaves! This was the hard part. For the background portion (the unfocused leaves) on the tree, I stamped directly to the page. At first they looked like flowers, as I used my new hand-carved flower stamp, For the more "in focus" leaves, I just cut off the petals, making them (kinda) look like leaves. Tried a different stamp too, but the leaves were too large.


Here's a photo of my most recent hand-carved stamps. For the leaves, I used the smallest flower, cutting apart the petals to resemble leaves.


I wrapped the motifs around the tree, and taped them to the back. I figured it would add some dimension to the tree if it was thicker.


Added veins with a Sharpie, and added paint to the leaves. Now they looked more like leaves instead of flower petals.
Loving the luscious painty splats there...^^


Added white modeling paste dots by smoothing it over a stencil on the trunk of the tree. (First I did green dots, didn't like it, so haphazardly put white over the green.)

Added some dots of white paint with a Tim Holtz dot stencil for the negative space.

Added some yellow dots for flowers with Liquitex heavy body paint.
Added quote by J.R.R. Tolkien.


Added some shadowing with a black Stabilo All.


My quote above. ^^
Underneath the warm sweater, is a tree. And it has history, just like the Ents in Lord of the Rings have. ;) 

Some green grass with various watercolours.


And I'm finished!
Hope you enjoyed!
Thank you for stopping by, and have a super day!

Sunday, December 28, 2014

Christmas in my DLP Journal

Another week in my Documented Life Project journal.

If you are new here, and have not heard of this project, check out the Art to the 5th Academy! I've been following along all year long, and now we're nearing the end! A weekly prompt keeps things challenging and fun! Here is the website: Art to the 5th

Had lots of fun with these pages.


I added a tip-in this week. (A tip-in is another page added in to your art journal.) The cross shown, is the inside part of the tip-in.

 For my calender pages, I did my usual sketch, then added in Neocolor 2 crayons for color.

The header has loads of layering because I just could not get it to look right. Final result has lots of modeling paste, gesso, Dylusions ink sprays, Viva Inka Gold color, and more. I used Staz-on ink for the stamping of the wise-men. The Bethlehem star is colored with the Viva Inka Gold in Rose Quartz color, making it really shiny.


\


The tip-in ended up in the shape of a cross. I used a stencil by Tim Holtz called Latticework, laying it down directly on the watercolor paper, and scraping modeling paste over the stencil. I got some awesome effects with it, as the stencil was "dirty" from previous projects.Once the paste was dry, I sprayed heavily with Dylusions sprays to get the loads of color. Final touches are Viva Inka Gold creamy metallic stuff for the cross outline and a few other areas. 


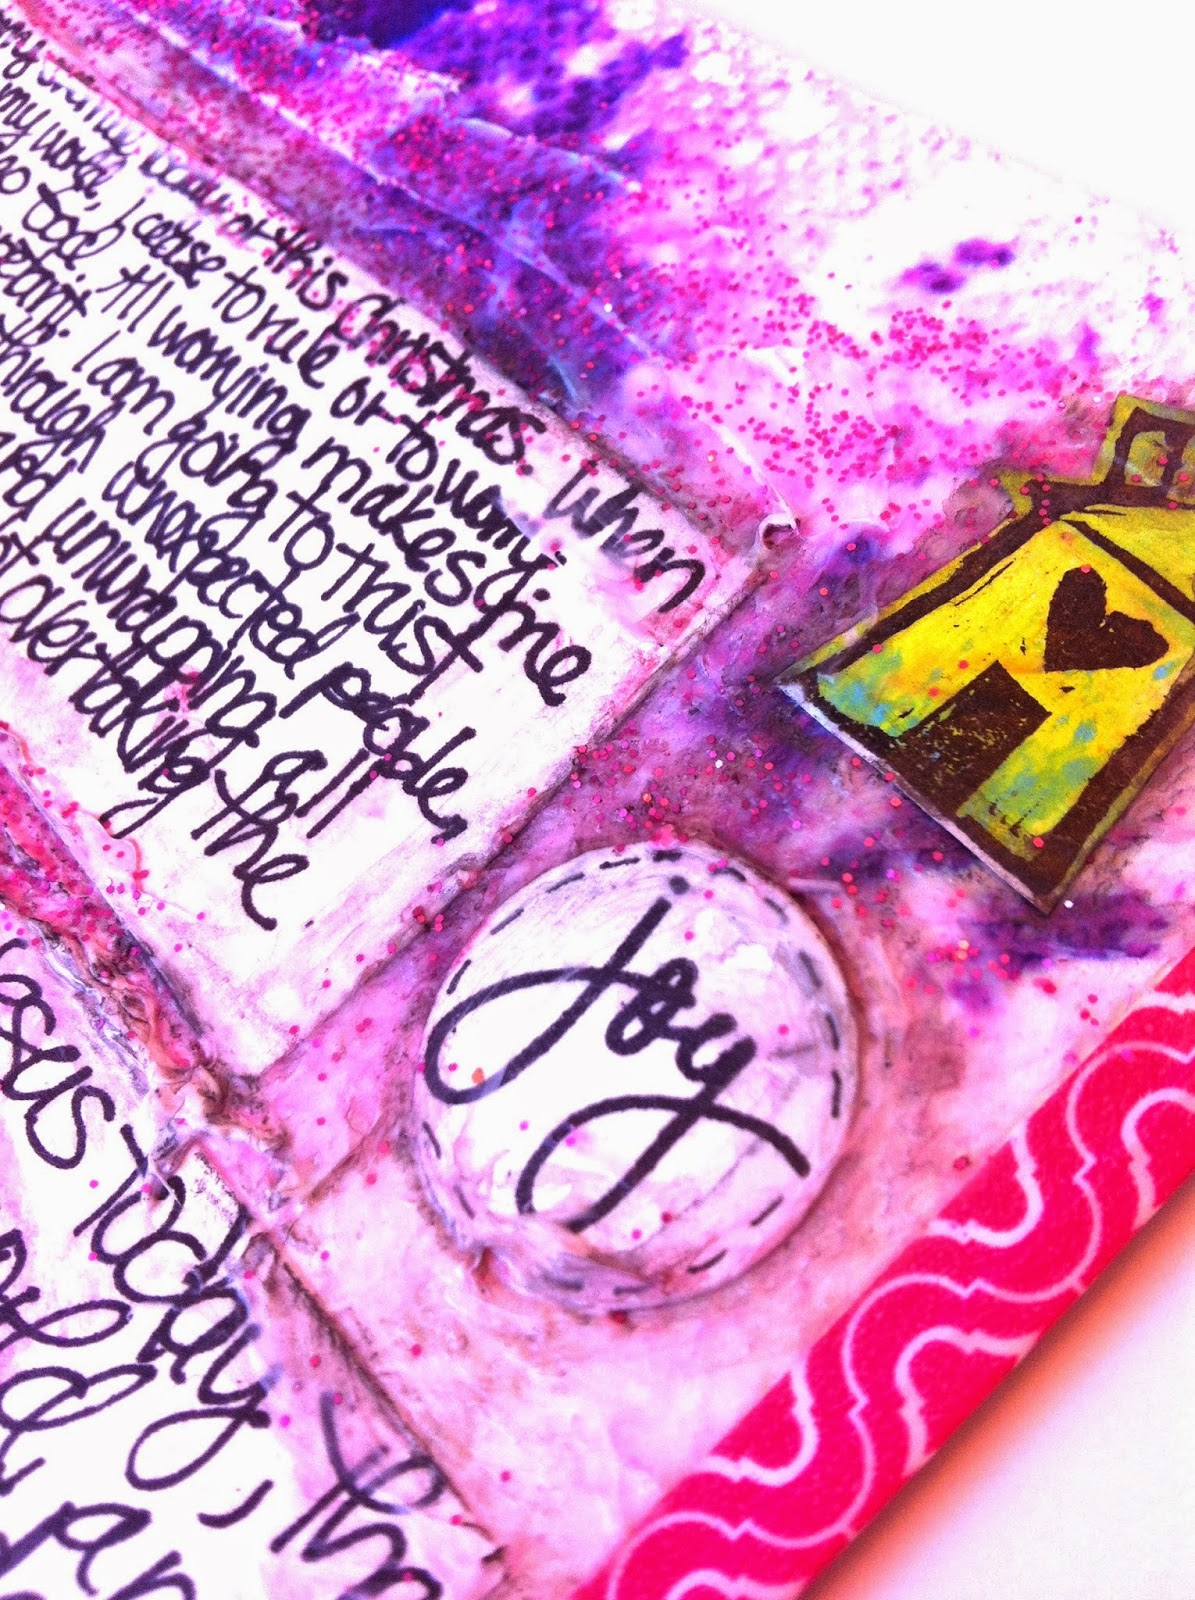
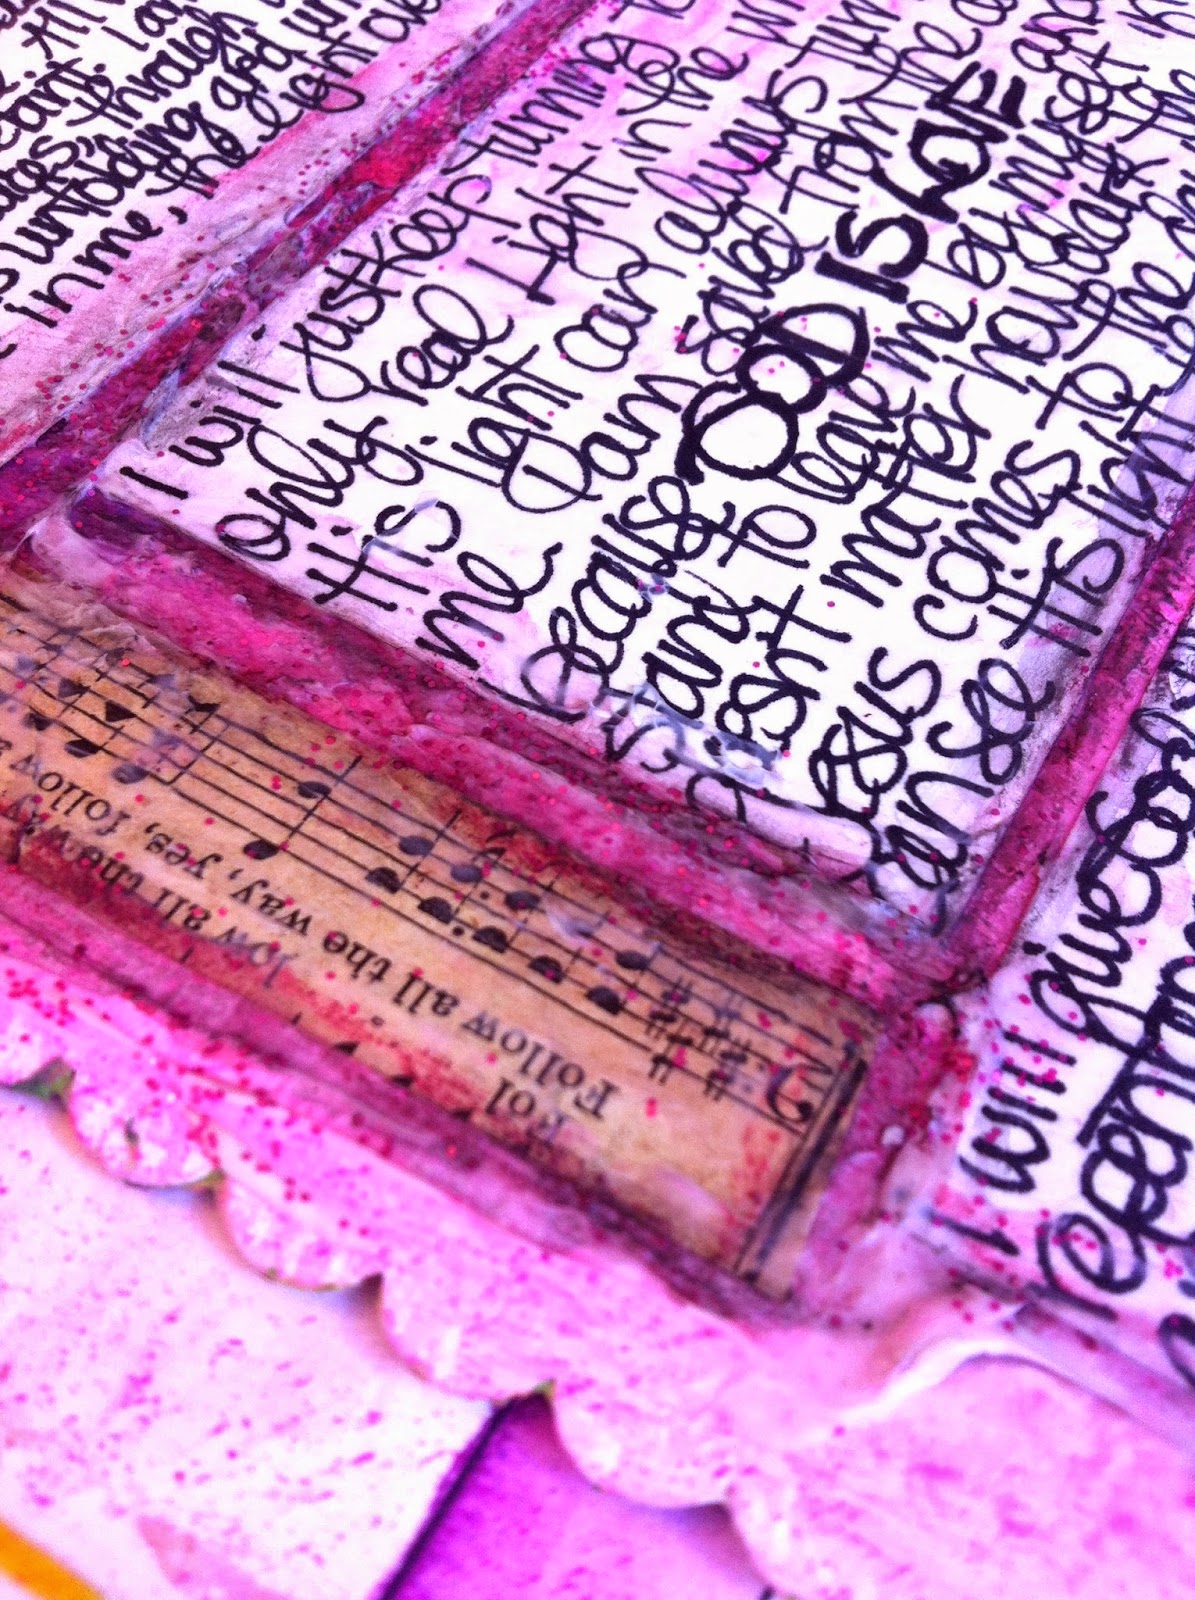
Tip-in closed. Daisy Yellow has an amazing project on her Instagram that I loved very much. Lots of layers of color, so that's what I tried with this page. I messily wrote Christmas devotions by Ann Voskamp on index cards, then put them down on the sprayed background. I then added modeling paste and glitter around the edges for texture. For increased depth, I took several watercolor pencils and scribbled around the edges as well, and wet it down, to engage the colors and add depth to the edges.


Lately I have been using a water brush filled with water to work the Neocolor2 crayons and other watercolors.


I used several pieces of happy mail by the lovely Lois, a fellow moderator on the DLP Facebook group. Finally, I incorporated some of the lovely artsy stuff I have received in the mail! If you don't know what happy mail is, check out my Pinterest board called Snail Mail Revolution! :) 


My background is layered with paper towels for texture as well. I sprayed it with Dylusions ink and water for more color.


Thanks for stopping by! I appreciate each and every one of you. :)