Showing posts with label bloghop. Show all posts

Thursday, July 12, 2018

Roben-Marie Smith Design Team Mini Blog Hop


WELCOME TO THE SUMMER BLOG HOP WITH A TWIST!

Hi all! Thanks for hopping with us and I welcome you here!

Head to my Youtube channel to watch me play in my unPlanner with fun goodies by Roben-Marie Smith Art Pops and PaperBag Studios!

Read more blog hop info below, see my fellow team members' beautiful projects and to learn how you can win some fabulous prizes! :)


(I had it embedded in this blog post, but the page was loading too slowly. Hope this helps!)


In the video you will see:

1. The decorating of this pink and purple envelope using RM stamps.


2. The journaling on the ART POP card.


3. Decorating the doodled calendar.


To see me make the January calendar, visit me on Roben-Marie Smith's Youtube channel HERE.


4. See me make the February tab on the video as well.


Work in progress: Painted a Starbucks bag with gesso, and is ready for some artsy play.


Here I used a pallette knife technique, which was a prompt/lesson back in March, for the project I'm involved in called Life Documented 2018.

aaaaaaaand! Finally the Blog Hop details! 

Today kicks off the Summer Blog Hop with a Twist.  We have the usual art inspiration and giveaways, but the twist is that there is also a SALE! 

AND, there is another twist; Roben-Marie will be closing Paperbag Studios and her Art Shop at the end of July. Read more about it in this article HERE

PRIZES
Grand Prize: One winner will receive a spot in Roben-Marie's latest workshop: SALVAGED: a Layered Pieces Journal and a signed and dated original abstract collage by her.
Three Secondary Prizes: gift certificates for an additional 30% off in your choice of the Paperbag Studios or Art Shop. 

Be sure to visit the other blogs in the hop and leave a comment to increase your chances of winning the discount!

HOW DO I ENTER?
All you have to do to enter is comment on this blog post and then keep on hopping across to all of the Design Team member's posts, leave a comment on them and be entered with more chances to win.  Giveaway closes on Sunday, July 15 @ 9:00PMEST.  Prizes will be announced on Monday, July 16.

WHERE DO I GO?
Here are the links to all of the amazing Design Team Projects so be sure to visit all of them, leave a comment and increase your chances of winning!

Jenni Zmuda

Ashli Oliver

Anna Friesen
(you're here)

Kristi Nazzaro

Torrie Gass

Cindy Gilstrap

Kristin Petersen

Sue Kemnitz

Laurie Haley

Thanks so much for hopping with me here, and do check out the other artists beautiful projects! :)

(My page might be loading slowly, so if you wait until it's loaded completely, the comment section should show up. Sorry.)

♥♥♥  Anna  ♥♥♥

Wednesday, September 6, 2017

100 Days Art Pops™ Blog Hop


Artist Roben-Marie Smith is giving away six sets of her new 100 Days ArtPops™ digital Collection and three seats in her upcoming Fabrilage online class! Read on to see how you can win!

To celebrate, I and the other design team members are sharing how we use her new collection! 


I flipped through my old Reader's Digest book-turned-art journal, looking for  colours or shapes that spoke to the Art Pops™ design and found it here, on page 353. :) 


To start, I added in some more paint, and then stamped randomly with one of the rubber stamp collections called Dream Thicket.


Next I printed off the smaller circle sheet onto clear sticker paper. See photo below. 


I added one of the circles to a randomly placed area on the page, and then stamped with the same stamp as I previously used on top. 

Then over the centers, stamping with the circle scribbled stamp from the Scrap and Journal Tools stamp set. 

Next, I finger-painted around the larger black stamping, and while still wet, drew in circles with a black Stabilo All pencil.

Add light gesso over the book text in a messy fashion.


Add another circle sticker to bottom left, going off the page.

Can't go without dots somewhere, so say hello to a pink paint pen for the small dots. Larger dots? Paint smudges with finger.


Edge circles with the black Stabilo All, blue paint pen for more dots over the black areas... another circle sticker...the more circles the better, right?


Some minor tweaks to add some shadowy dimension, and we're good! 


And here's my messy work space once I finished. :)


Now read on below to see how you can win these lovely new Art Pops™ 

ART POPS: the mixed media art pieces inspired by the whimsical, saturated pages of Roben-Marie's art journals. ART POPS provide bold and fanciful POPS of COLOR for your favorite projects including Project Life, Mail Art, Art Journaling and much more. Rock your world with ART POPS!

To celebrate the launch of Roben-Marie Smith's new 100 Days ART POPS Collection we're giving away not one, but two awesome prizes for this blog hop! There are three spots in Roben-Marie's new online class, Fabrilage that opens on September 13 and I am giving away a set of the Digital 100 Days ART POPS Collection to one of my lucky readers! 

All you have to do to enter is comment here on my blog and then keep hopping across to all of the Design Team member's posts, leave a comment on them and be entered with more chances to win.

Here are the links to all of the amazing Design Team Projects so be sure to go and check them all out to be in with the best chance of winning!


(you are here)


Giveaway closes on Monday, September 11 @ 5:00PMEST.

Thanks so much for stopping by!

♥♥♥  Anna  ♥♥♥


Thursday, April 20, 2017

StencilGirl and Amazing Casting Products Blog Hop


A friendly hello to all of you! 

I'm participating in a fantastically fun blog hop with StencilGirl and Amazing Casting Products! See below to see what I made and how you can win goodies!


Never heard of Amazing Casting Products? Well...I didn't know much either, and so when I set out to create something of the goodies I received in the mail, I went on an adventure to learn what it is! So many stunning ways out there to tickle your creative bone, and the eye candy, wow!

So, I received Molding Putty, see HERE
and
Alumilite White Resin, see HERE.

I thought of making jewelry, which is a popular thing to make with casting products, but I have very little experience with that, so I stuck with what I am familiar with: 3D embellishments.

The first thing I did was start playing with the molding putty, looking for things in my house that would create an interesting mold. I found success with a necklace. See below.


It was a little tricky prying out the finely detailed parts, and I ended up tearing a bit of the mold. Take it really slow when you pull out the original piece.


I had to patch the underside, as I pressed the original into the putty too hard, piercing the putty through.


The instructions come with the packaging, and the steps are very simple. So pictured above: I poured the resin into the mold. In 20 minutes, it is ready to be taken out. Fast results, people, making this ideal for those of you who don't want to wait a day to see. :)


I cut up the piece into smaller bits. The resin is quite flexible while it is warm. It cuts great when it is thoroughly cooled down, as long as you haven't made the it too thick.


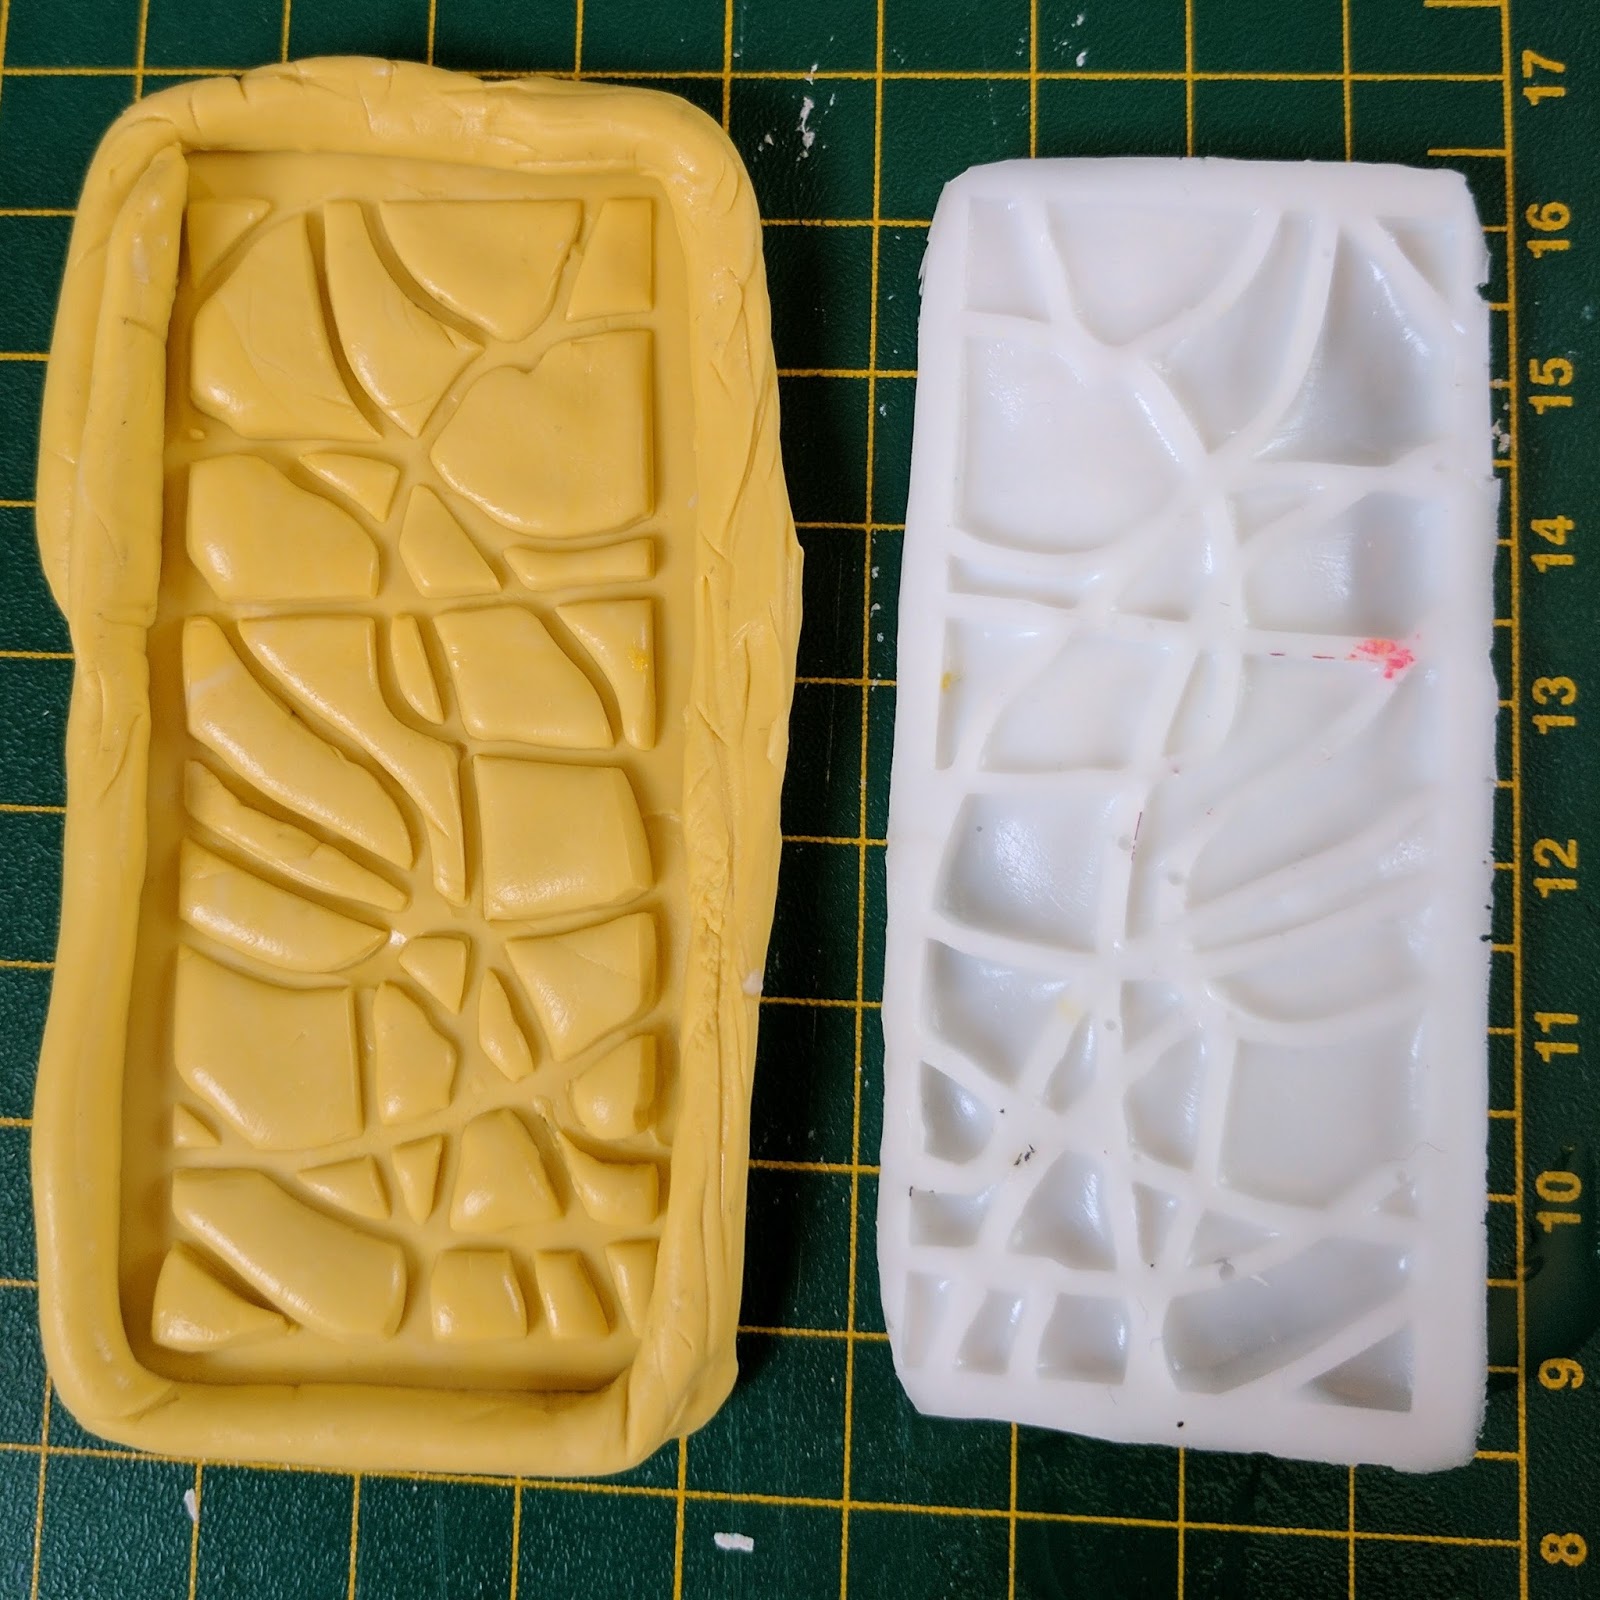
Then I tried different stencils, and loving the results of this one, so I made several of them. I used one of the rectangular shapes from the April 2016 Private Collection 16.2


Painted the piece with black chalkboard paint, let it dry, then added a few layers of a pink from the Silks line by ColorArte. Love the sheen it gives!


I seared a hole for the ribbon with my woodburning tool. Works like a charm.


I made a few casts from this mold, trying different looks. 


Now on to my art journal page! I had previously painted the background of this page in my junque journal that houses the Art Marks 20 Day Challenge

I tried to transfer some laser-printed images to my page, but didn't have much success, so I just glued the photos to the page with matte medium. They've got that grunge look to them from trying to transfer them, so I'll go with that! ;)


With the Travel Note Mini, I add texture to some of the coloured areas of the two page layout.


I add some detail with a fun circular-shaped stencil from the Cathy Nichols Boho Collection.


I really want this looking even more grungy, so I splatter some ink and make it run down and across the page.


Add in black spots with another little stencil from the April 2016 Private Collection 16.2. 


Circled black spots with black pen, and added paint to the resin chevron pieces. 

One of the pieces, I painted with black chalk paint, and then the metallic Silks on top, which gives it some bling. ♥ 

Glued resin pieces to page with a hot glue gun. I also glued the ribbon in place and a silver metal leaf from a discarded necklace.


"Be Intentional" is my phrase for 2017.

I dyed the silk ribbon with Dylusions sprays.

And there it is! A completely new way for me to add decoration to my art journaling pages: 3D resin. I am now addicted! 


Thanks for stopping by, fellow creatives! I've had a lot of fun with creating my own resin casts. Stencils are a such an easy way to add textures and patterns YOUR way to your art!

See below for info on how to win these products and to see how other my fellow StencilGirl Creative Team members and other artists use these products together!

♥♥♥  Anna  ♥♥♥


GIVEAWAY

One lucky winner will receive both a $25 Gift Certificate to StencilGirl Products
AND a $25 Gift Certificate to Amazing Casting Products!

Visit the fabulous designers from both teams and comment for your
chance to win!
The more blogs you comment on, the more chances you have to WIN!
(One comment per blog please.)
You have until Sunday, April 23rd at 11:59PM Central Time to leave your comments.
Winner will be announced on
StencilGirl's Facebook page and Amazing Casting Products’s Facebook page
on Monday, April 24th.