Showing posts with label videos. Show all posts

Thursday, September 19, 2019

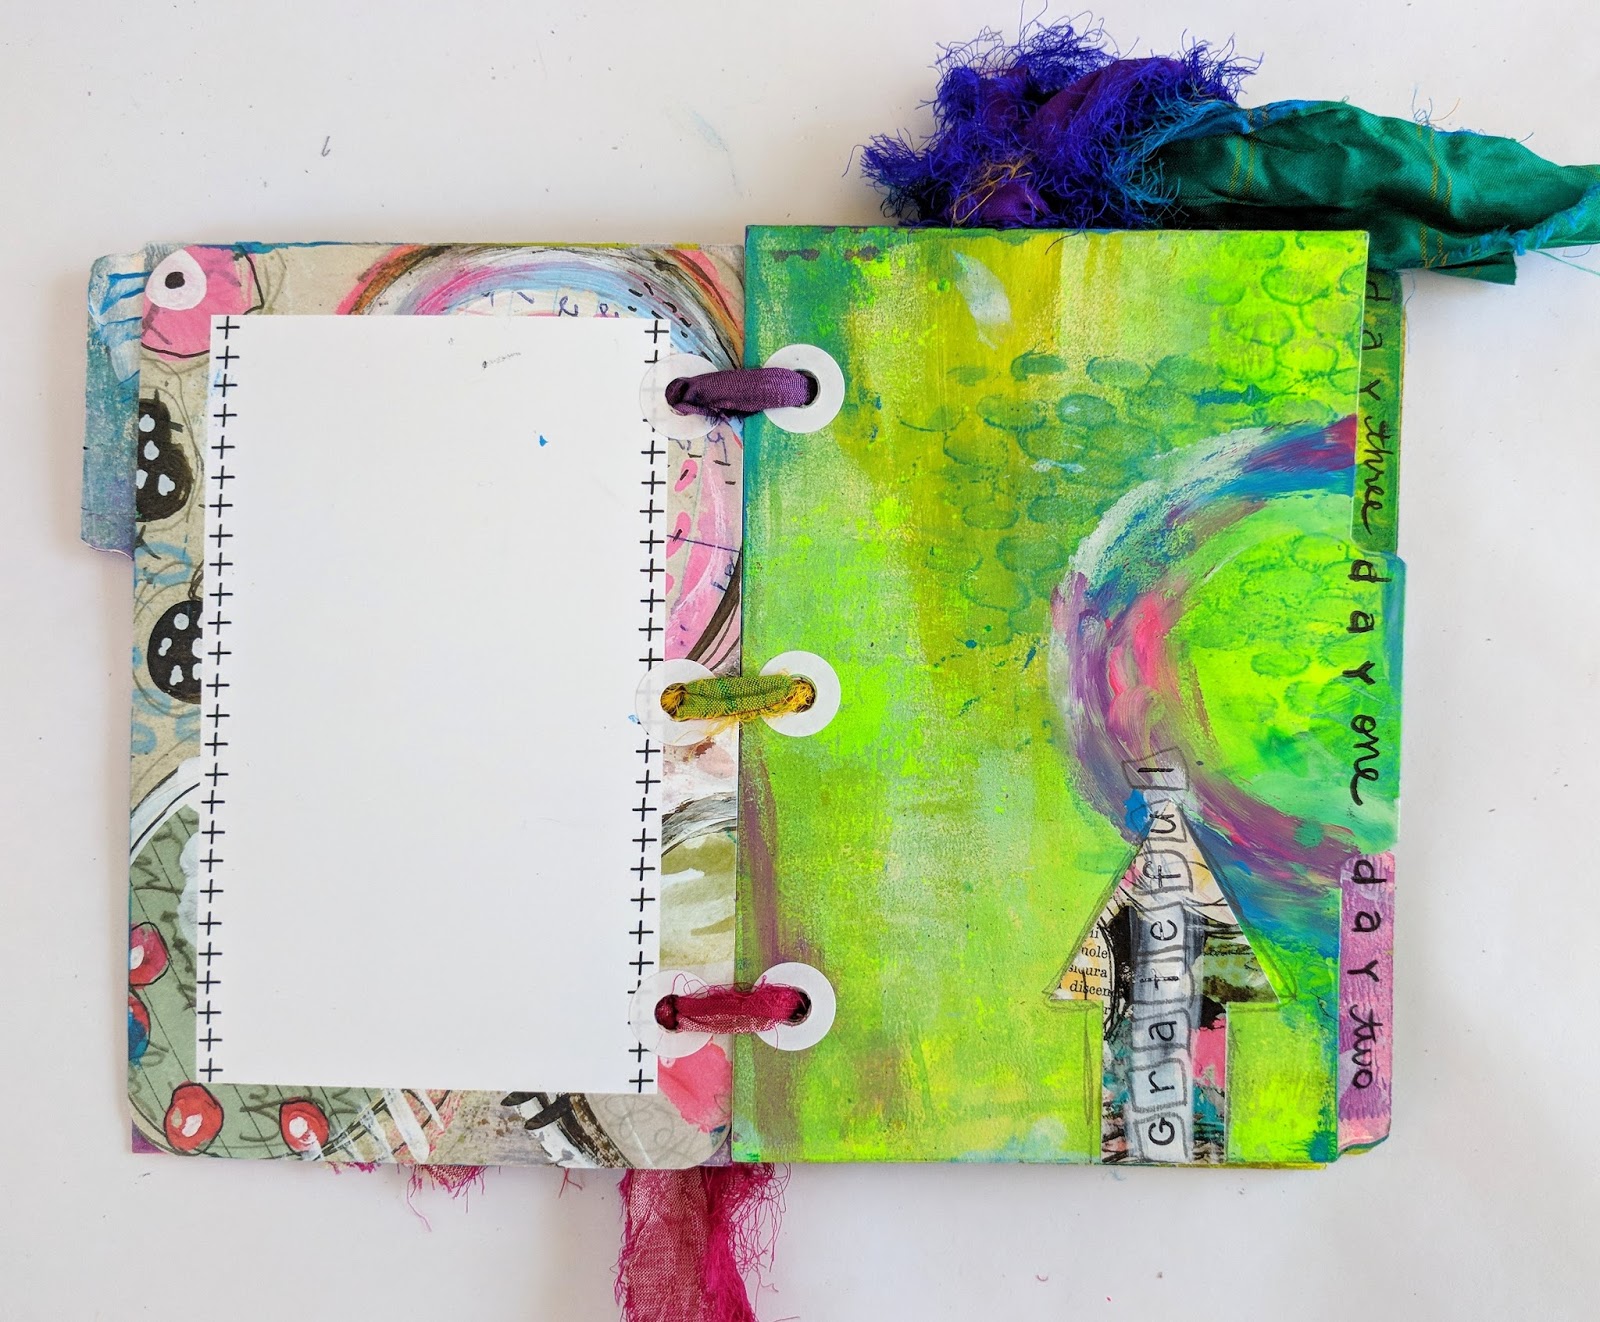
10 Day Gratitude Journal


EDIT: This journal is SOLD.

Almost two years ago, I made this fun little grateful journal, thinking I'd use it, but it's been sitting, looking all forlorn, in among my art stash. So, I've decided to sell it. I feel sad, as I always do when I part with something I've poured my heart and soul into, but I can't keep everything I make! 

I designed it while I was on the fabulous Roben-Marie Smith's design team. There's even an hour-long video of it on her YouTube channel. Check it out if you want to see the time-lapse. I recommend changing the playback speed to 2x if you don't have an hour to watch or be bored out of your mind. (Unless of course, you're curious how I achieved the look in detail. ;) ) 
See video 
 HERE

This could be a handy little journal to quickly document ten days of gratitude. I've seen many people do this on the socials. This is a great tool to practice thankfulness during the American thanksgiving season, or really, any time of the year is good too! Check out the hashtags #tendaysofgratitude #gratitudejournal #gratitudeproject 

This little book boasts 16 pages of painterly index cards, a few tags and some POPart cards designed by Roben-Marie Smith.  See photos below, which I've posted in order they appear in the book.

To purchase or if you have any questions, you can reach me at artfulstories@gmail.com or go to my Facebook page Artful Stories, or private message me on Instagram at @annawho.


♥♥♥  Anna  ♥♥♥

Saturday, January 12, 2019

Life Documented 2019 20 Minute Journaling Challenge


Hi all! It's been a long time since I've posted anything here, but today I have something to share (and when I actually took the time to write a post!). I finally have another art video up on YouTube. This time it's my take on Week 3 of the Life Documented 2019 prompt. The challenge was to create for 20 minutes. 

 As I was preparing this post, my boys were watching former NASA engineer Mark Rober's videos on YouTube. The specific video was about kids' science projects and education, and he said something that really spoke to me, and it applies to this prompt as well. He quotes Tina Seelig: Creativity is applying your imagination to address a challenge. This requires both imagination and experimentation." Wow. I thought you'd all like it too, so I've picked that as my quote, and I think it fits well with the challenge: to only allow yourself 20 minutes to create something. It sure challenged me, and we all need to flex those creative muscles, right? :) If you're interested, HERE IS THE VIDEO.

FOLLOW THE LINK TO MY POST ON THE LIFE DOCUMENTED 2019 HERE.

Thanks for visiting, hope you can get in twenty minutes of art time soon! :)

♥♥♥  Anna  ♥♥♥

Thursday, July 12, 2018

Roben-Marie Smith Design Team Mini Blog Hop


WELCOME TO THE SUMMER BLOG HOP WITH A TWIST!

Hi all! Thanks for hopping with us and I welcome you here!

Head to my Youtube channel to watch me play in my unPlanner with fun goodies by Roben-Marie Smith Art Pops and PaperBag Studios!

Read more blog hop info below, see my fellow team members' beautiful projects and to learn how you can win some fabulous prizes! :)


(I had it embedded in this blog post, but the page was loading too slowly. Hope this helps!)


In the video you will see:

1. The decorating of this pink and purple envelope using RM stamps.


2. The journaling on the ART POP card.


3. Decorating the doodled calendar.


To see me make the January calendar, visit me on Roben-Marie Smith's Youtube channel HERE.


4. See me make the February tab on the video as well.


Work in progress: Painted a Starbucks bag with gesso, and is ready for some artsy play.


Here I used a pallette knife technique, which was a prompt/lesson back in March, for the project I'm involved in called Life Documented 2018.

aaaaaaaand! Finally the Blog Hop details! 

Today kicks off the Summer Blog Hop with a Twist.  We have the usual art inspiration and giveaways, but the twist is that there is also a SALE! 

AND, there is another twist; Roben-Marie will be closing Paperbag Studios and her Art Shop at the end of July. Read more about it in this article HERE

PRIZES
Grand Prize: One winner will receive a spot in Roben-Marie's latest workshop: SALVAGED: a Layered Pieces Journal and a signed and dated original abstract collage by her.
Three Secondary Prizes: gift certificates for an additional 30% off in your choice of the Paperbag Studios or Art Shop. 

Be sure to visit the other blogs in the hop and leave a comment to increase your chances of winning the discount!

HOW DO I ENTER?
All you have to do to enter is comment on this blog post and then keep on hopping across to all of the Design Team member's posts, leave a comment on them and be entered with more chances to win.  Giveaway closes on Sunday, July 15 @ 9:00PMEST.  Prizes will be announced on Monday, July 16.

WHERE DO I GO?
Here are the links to all of the amazing Design Team Projects so be sure to visit all of them, leave a comment and increase your chances of winning!

Jenni Zmuda

Ashli Oliver

Anna Friesen
(you're here)

Kristi Nazzaro

Torrie Gass

Cindy Gilstrap

Kristin Petersen

Sue Kemnitz

Laurie Haley

Thanks so much for hopping with me here, and do check out the other artists beautiful projects! :)

(My page might be loading slowly, so if you wait until it's loaded completely, the comment section should show up. Sorry.)

♥♥♥  Anna  ♥♥♥

Wednesday, July 11, 2018

REDEEMED Mixed Media Scrapbook Layout with a Time-Lapse Video


Hello, peeps! Today I've got a time lapse video for you! Tap/click HERE. It will take you toYouTube. 

This layout's home is in my 2018 unPlanner. To see more of my unPlanner - this year and the years previously, see the tabs at the top of my blog.

Scroll down past the video to see the supplies used and tips and tricks, and observations I made in the process of watching back the video. I hope you enjoy! :)


Supplies Used (In the order I use them in the video, mostly) 

- Mixed media paper
- pencil
- A fat round paint brush (I like the ones that hold lots of paint and water for this technique.) Using fingers to paint might work fine too.)
- water
- heat gun (optional)
- acrylic paint (Permanent Violet Dark by Golden, Bahama Blue by Deco Art, Americana line, Deco Art Phthalo Turquoise and Phthalo Green-Blue, Artist's Loft Neon Pink and white)
- Various doodled-style stamps (I used Paperbag Studios rubber stamps Doodles and Daters and others.)
- Distress Oxide Inks by Ranger (Use inks that show up well on dark paper and paint.)
- Staz-On black ink
black cardstock
- sewing machine (or hand stitch some touches? Or have you seen the Sew Easy tool? So fun - comes in lots of different designs, too!)
- metallic pink thread
- double-sided scotch tape
- photo
- acrylic block
- dictionary paper
- scissors
- word art (I made my own) Scrapbooking 3d letters would look great too. Love THESE.
- glue stick
- black Sharpie (or some other permanent black marker) - extra fine tip 
- Scrapbook paper for the tag, or make your own paper, or use those delectable artPOPS by Kristin Peterson of AlteredStatesStudio.
- reinforcement stickers
- paper clip with fabric ribbon: you can get my Roses Dreaming Planner Clips  from my Etsy shop HERE.


- glue dots (or other strong glue)


- paint pens or opaque gel pens
- Last, but not the least, my journaling bible.

Tips and observations about my project: 

- When applying colour, add dimension by creating darker shades and lighter ones of the same base colour. (For this layout, I chose dark purple as my main colour, adding water or white paint to lighten up the colour.)  

- Using black elements or other contrasting colours is always an easy trick when creating a focal point. Having a focus point helps our eyes to zoom in on one thing first, then to the secondary and further elements. Our brain likes the order it brings.

- Stamp clusters of detail in three spots (triangular formation) over the two-page layout. If you're creating a similar design just on one square sheet of paper, you can still apply this rule of thirds and clustering trick. 

- I use double-sided scotch tape to easily attach unmounted rubber stamps to an acrylic block.

- Apply white paint or bright colours in areas where it feels too dark or muddy. It brightens things up.

- To choose stamps, think what you want to portray, but also the scale and pattern of each, I like to use some intricate designs, paired with bolder and larger. Also think stripes, circles, triangles. Opposites.

- Baby wipes are a fast and easy way to quickly clean your stamps, or smudge areas you want blended in more, or to pick up too much colour in places.

- I had trouble with the neon pink not popping enough on those finger-painted circles, so I should have put down a white paint first. My experience with neon paints is that they are quite transparent. If you know of a paint that is opaque, message me. I'd love to find some! 

***Warning ahead: reading further might cause you to go down a rabbit hole. Yep. Classic Alice. 

As I typed my tip above, I googled "opaque flourescent acrylic paint", and discovered an amazing article about some tricks to create an opaque look! See HERE! It does seem like a lot of work, haha, so, let's just get a product that does everything for us, correct? ;)

- Use an apron or old clothes when you do the splattering. I got my favorite summer dress full of paint, and my glasses as well...lol

- I got my bible out, finger-painted around the bible verse I'm meditating on, and then copied the words to the back of the journaling spot that sits under the photo.

And that is that! What enormous fun I've had in creating the project, the video, this blog post, everything. Now back to my house, which has suffered a little in the past few days...Please leave a comment if you enjoyed the project, or if you have any questions. I welcome all feedback. Or just comment to say hi! :) 

♥♥♥  Anna  ♥♥♥