
♥♥♥ make today ridiculously amazing ♥♥♥
I am looking forward to teaching this page in my art journaling class this coming Saturday. :) Not sure what to call it.
Daisies at Play?

I took step out photos for my whole process, so here goes:
Supplies List:
Art Journal
Matte Medium
Book paper
Brushes: soft bristled - med size, a sponge brush, and a med fine line.
Heat gun
Modeling paste: I used Light Modeling Paste by Golden
Palette knife
Floral stencil: I used Scribbles stencil by Tim Holtz
Dylusions Paint: London Blue, Bubblegum pink, Crushed Grape, Squeezed Orange, Cut Grass, Fresh Lime, Vibrant Turquoise,
Black acrylic Paint: I used Liquitex Basics - Mars Black
Opaque white paint: I used Tulip fabric spray paint
Yellow paint: I used Golden Fluid Hansa Yellow Medium
Baby Wipes
Floral Rubber Silhouette stamps: I carved my own
Black permanent ink pad: I used Ranger Archival Ink - Jet Black
A quote from a book you can cut out, or print your own
Black Stabilo All pencil

Step 1: Tear book paper into strips and glue to journal page with matte medium. Place randomly, making sure you get the spine as seamless as you can. Heat set with heat gun.

Step 2: Gesso over everything and heat dry. I used a sponge today. I like the easy and smooth application it allows versus using a brush. Dry with heat gun.


Step 4: With a very light hand, apply London Blue Dylusions paint (Any kind of paint should work.) to the top area, making it your "sky". Blend into smooth, non-textured areas with baby wipe. Blend on the texture too, making some areas lighter than others. If too much blue, take a clean wipe to remove some paint. In hindsight, I wished I had left more blue in the smooth areas, making the edge look less like camel humps and more graduated into the middle area. Seriously, that's what I keep seeing! lol

Step 5: Apply Dylusions Bubblegum Pink to three areas. I always think in three. An uneven 3 casts a comfortable vision for your eyes to travel across the page. Again, make sure you apply with a light hand, as you don't want the paint to get into the crevices of the modeling paste very much. You want most of the crevices to remain white. Blend with wipe, graduating into the center and away from the texture. Thy Dylusions is very pigmented, so a little goes a LONG way. Take a clean wipe if you're having trouble blending lightly. Don't be afraid to touch the blue paint. Notice how we're getting purple now? The Dylusions paint isn't permanent until you heat set it, so the pink is blending with the blue. I love this subtle blending. Blend into the center, trying to not have hard edges. In some areas, I added more layers of pink paint, making some of the flowers more dominant, just like you'd see flowers in a garden. Think depth and focus.


Step 7: Squeezed Orange Dylusions paint in three small areas next. Blend out the orange a bit. At this point, looking back, I wish I'd done a little bit more blending, and then heat set the orange areas thoroughly. The next color is green, and if the orange isn't set, the two colors will blend and make brown. And we don't want brown.


Step 8 and 9: Cut Grass and Fresh Lime paint next. Blend together, so the two green mesh nicely. Dab with wipe instead of wiping near the other colors, avoiding making mud again. Sorry. I had to mention that again. teehee


Step 10: Vibrant Turquoise is next, blend into the "sky" to add extra dimension to the blue. Go very lightly. I did a bit too heavy. See how the flowers in above photo don't have that white gutter? Next time I'd go a bit lighter, and with less paint on my fingers. Did I forget to mention I was painting with my fingers, not a brush? I tried a sponge, but I liked that I had more control with my fingers. For you, it might be easier to use a brush or sponge or an applicator. Find out what works best for you.


Step 11: Add in Lemon Zest paint to the center. Blend right to the edges, being careful not to touch the purple too much. Touching the pink is good, as it will give you orange. Blend, blend with wipe and fingers. This is hard to explain, this blending, as you kind have to work intiutively here, feeling as you go. You might need to remove some color here and there. Be sure to not be stingy with the wipes. I think I used half a package on this page alone! Make sure that you don't use a wipe with a different color already on it, as that could give you messy results. Now at this stage, I'm feeling like my background isn't blendy enough. Too many hard edges, borders between colors, not a smooth transition from one color to the next. That problem will be solved in one of the last steps, so hold on to that thought right now. :)
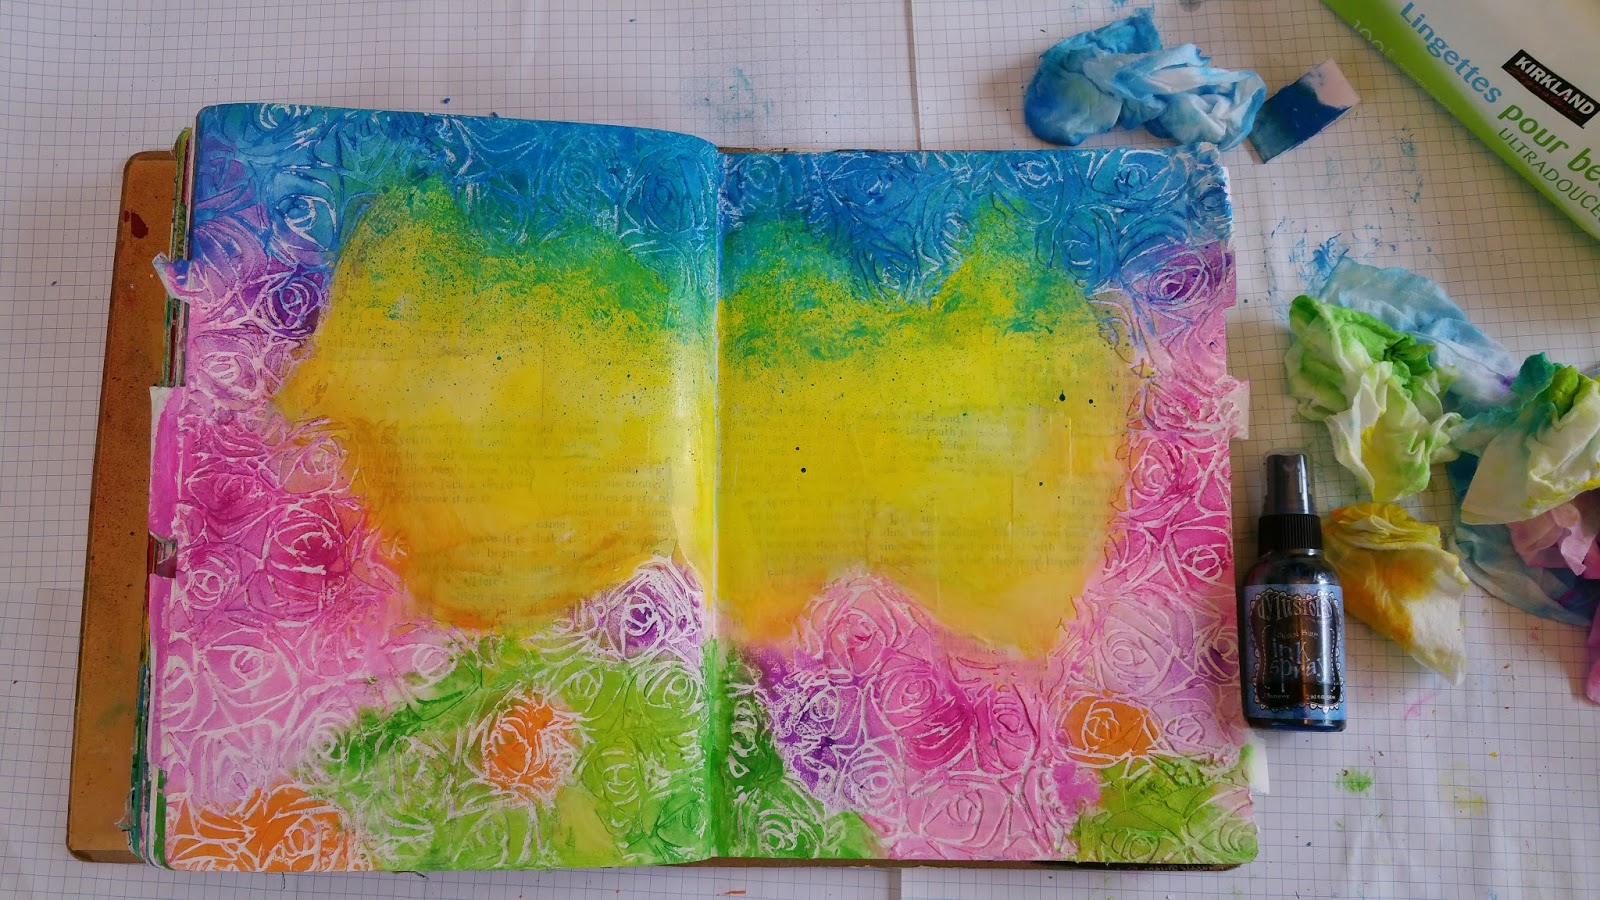
Step 12: Now I looked at the overall page, and I felt the blue edge was too hard, so I sprayed London Blue Dylusions spray to that area, and dabbed with a clean wipe to blend.

Step 13: Take a clean wipe and wipe off some yellow in a circular shape. This will be the "sun".


Step 14: Take a brush and some yellow paint, preferably a warmer, slightly darker color than the yellow you used in center, and brush swirls in a circular motion to mimic the sun rays.

Step 15: Splatter white paint all over in drops by tapping a brush dipped in paint. I used Tulip fabric spray paint, but any fluid opaque paint would do. Acrylic ink would work as well. Dry.

Step 16: Choose your flower silhouette stamps. I hand carved a pair of these daisies, one smaller than the other. Stamp with black, waterproof ink, placing them randomly, trying not get one flower directly above another.

Step 17: Take black acrylic paint and brush on the stems and leaves and painting in the white areas where the stamp didn't make a strong image. I made this page in a fat, bulky and bumpy art journal, so the surface was not smooth. I tried to stamp in areas where there wasn't any texture paste. Let dry thoroughly.
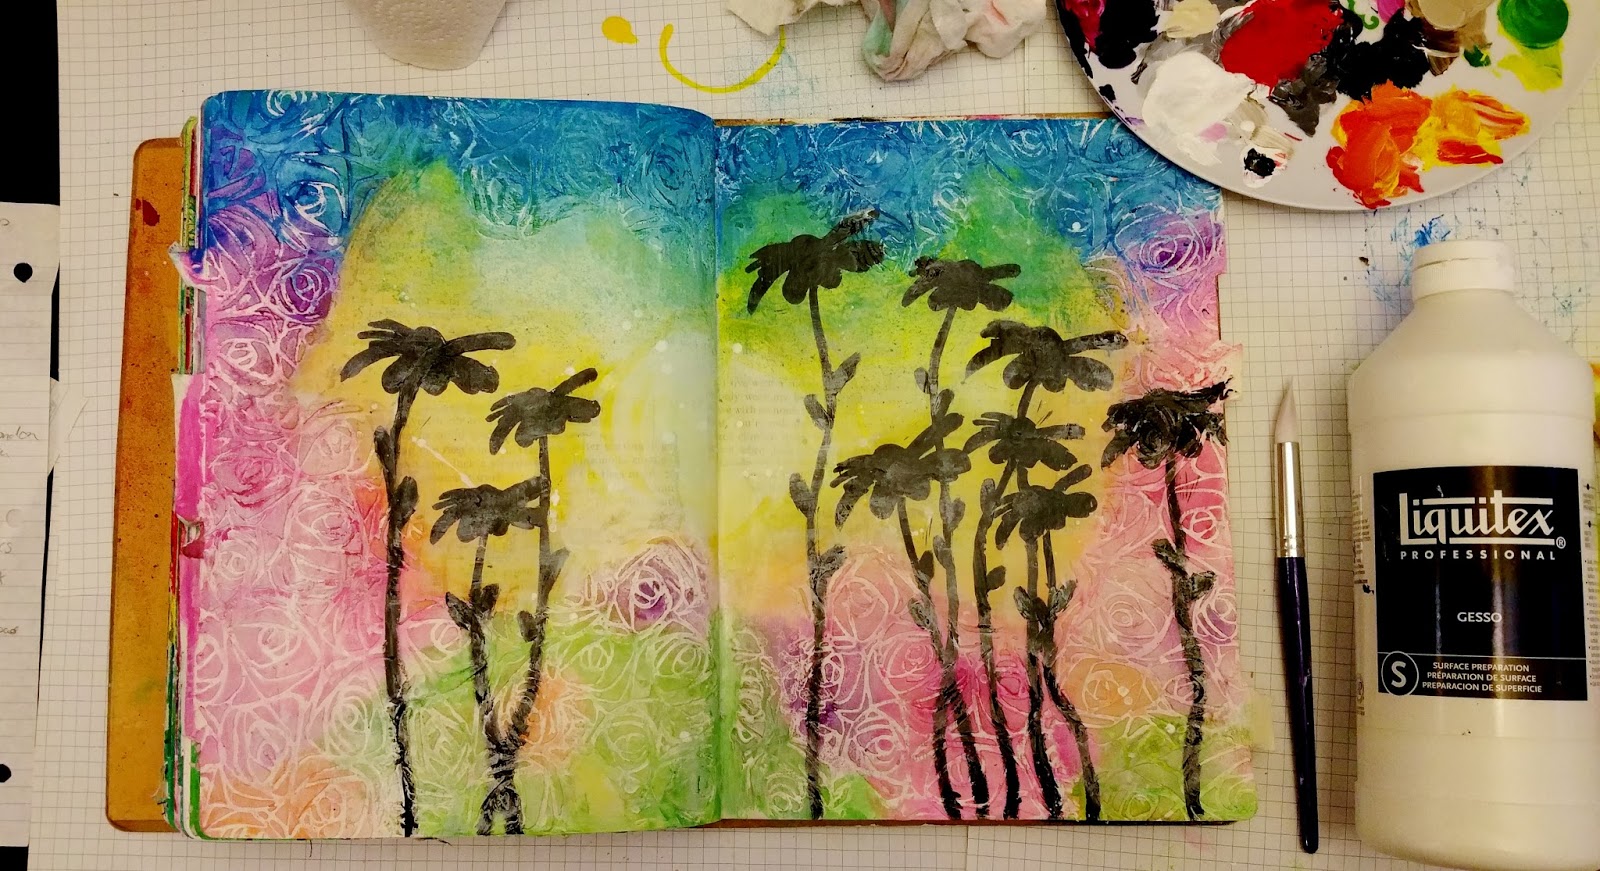
Step 18: The lighting by now isn't as good, so the colors don't show up quite as accurately as I want them. I mentioned earlier that that colors weren't well blended together, so now we're fixing that. Brush gesso on all the areas with a round, soft paintbrush, diluting a bit with water, wiping as needed. Here you'll have to decide how much to wipe away and how much to leave. Brush a bit harder or add more than one coat of gesso/water combo in areas that you want the colors to transition softly. The white gesso softens these edges. Dry.

Step 19 and 20: Find a quote from a book or print your own and glue to page with matte medium, outlining the paper with a black Stabilo All pencil, wetting with a wet brush.
Step 21: Last step is to splatter more white paint over the page, adding more splatters to my quote, so as to add a bit more detail and interest to it.
I need to add that the jumpstart I used to create this page is by a talented art journaler. I saw her layout on Pinterest, and I wanted to make something similar. Check hers out HERE.
And we're done!! I have no idea if anyone will actually follow my steps and make their own, but this blog post was fun to make, and will help me teach it to my students. If you do make your own, I would love to see it! See my profile for email address. Would love to hear from you! :)
Have a great night. :)
♥♥♥ Anna ♥♥


