Showing posts with label Decor Projects. Show all posts

Monday, September 3, 2012

Art on the wall


My living room wall above the sofa is getting a make-over. 

I put six empty canvases up, waiting to be decorated.

The first piece of art is a mixed media piece, using gesso, modelling paste, acrylics, glaze 

and 

smashed glass. :) 

Not happy about the whole thing, might change some areas...

like that little globby area upper left...

don't like the white flower kinda in the middle there...


Started by covering the whole canvas with gesso, then adding a light color wash for the background.
Next, added texture to the background using different textured stuff like sponges and bubble wrap.


Smooshed and pushed and shaped some (lots!) modelling paste into cabbage roses.

(Really had no idea what we were doing-my Sis and I.)
Then we added color!

It was hard getting the color right. 

We wanted a bright pink without it looking neonish or coral. 

Finally, after giving up on our fancy, expensive Golden acrylics, we turned to my scrapbook paints that

I have had for years. 

And met with success! 

Happy happy colors!

Lastly, we added glass flakes that a scrapbook friend of mine gave me for free. :) 

And here it is!


And here's my sis's. Isn't it fabulous?!?


 Thanks for stopping by. :) 

Go make someone smile.:)


Sunday, January 8, 2012

Crocheted, Sewn, Glittered, and Papered Christmas Trees


My sis and I volunteered to provide centerpieces for two tables at our church women ministry's Christmas event this past December. 

We "pinterested" (ya like my new verb?) for weeks, and then came the day we needed to actually put something together. 
We collected anything in our homes that we thought might work to put a nice display together. We met at Sara's house to start on it. I brought my old Partylite Christmas houses. Sara had all sorts of odds and ends collected too.
We were not inspired at all with these things, (not to say they didn't look nice). But, something was missing. 

We procrastinated for several hours! 

(There's such a wealth of stuff to do when my twin and I are together, ex. educate and train and mommy children.)

Again, we went back to handy dandy Pinterest. I searched there for "paper trees". 

Then, hit GOLD! 

I found this gorgeous tree on the Crate Paper blog:


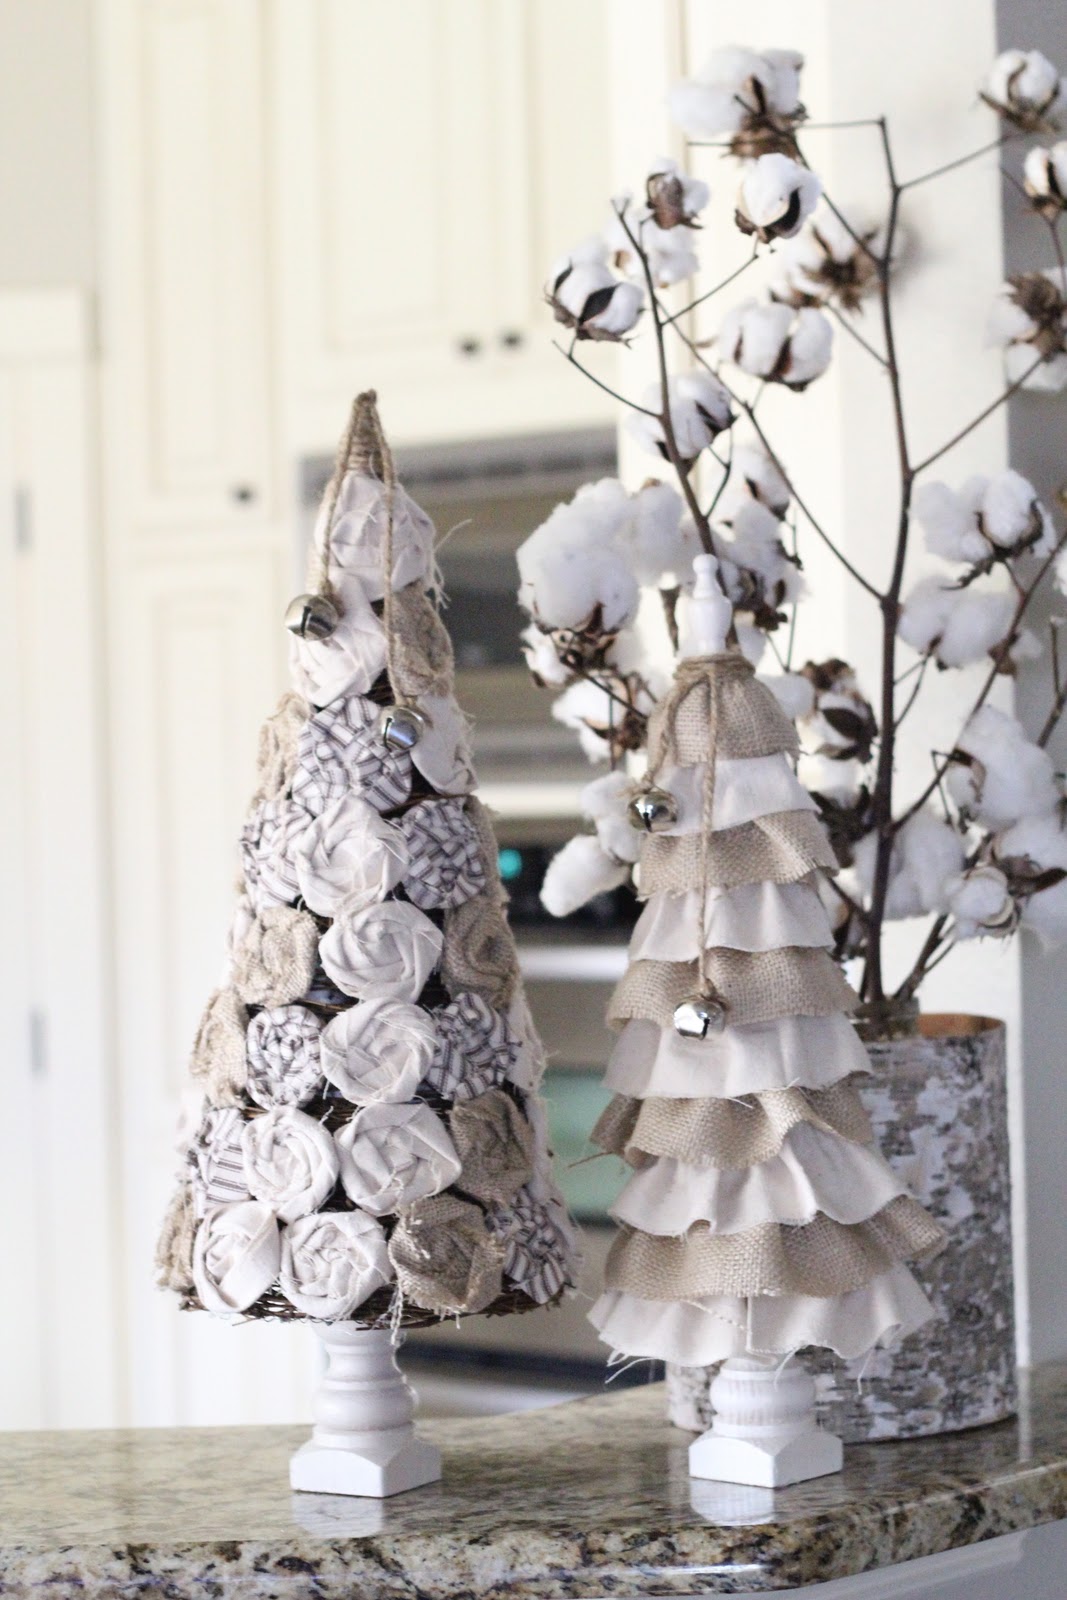
 And these burlap and fabric rose trees from the Shanty2Chic blog:


Our minds clicked. Ideas abounded!

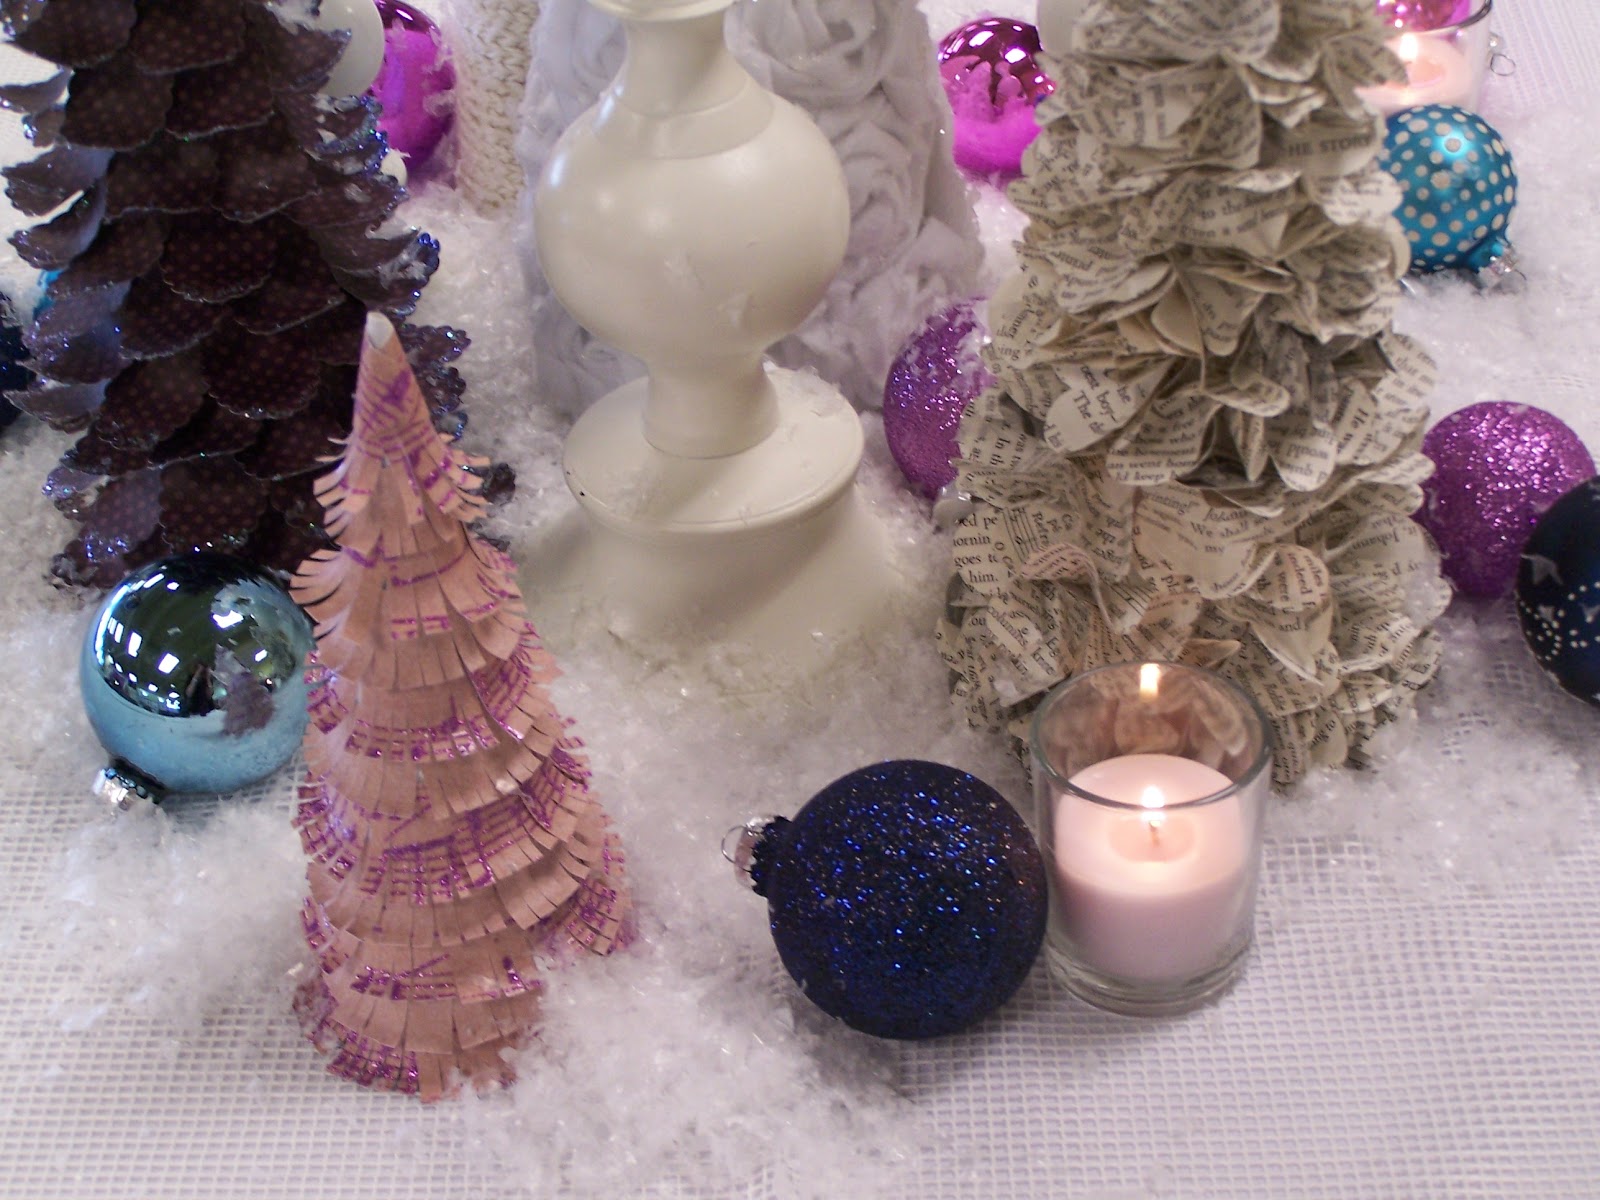
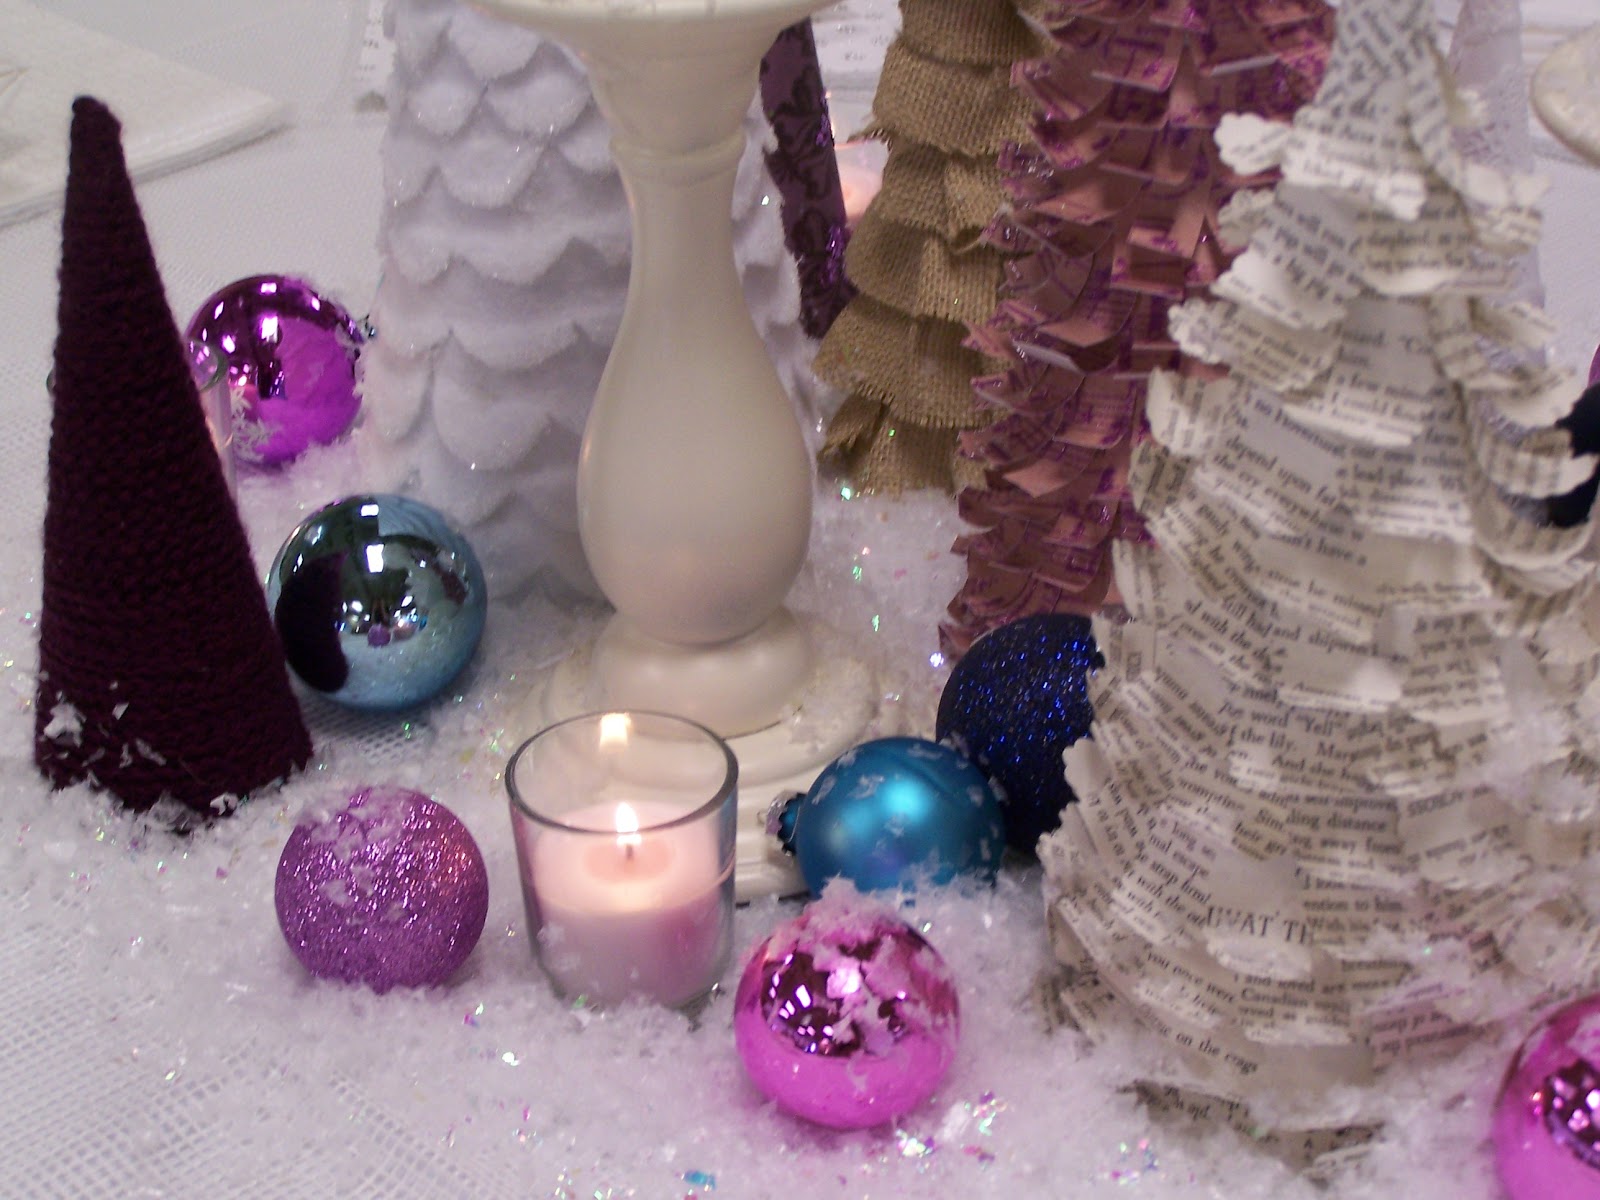
We used

felt
glitter
burlap
punches
old book pages
cream alpaca wool
old handmade paper
Bo Bunny dot paper
eggplant colored wool
dollar store paper doilies
specialty scrapbooking paper 
with glittery purple music notes
Stampin' Up punches (scallop and flower)
candle sticks
candle holders
and more.

Hey, I created a tree with my text! Tee hee!

Sara created the cone shaped trees using poster board.

We crocheted loooooooooooooooooooong chains with the wool.

We punched, snipped, curled, and glittered papers for the paper trees.

We punched paper flowers using a flower punch using the old book paper. 
(This paper is from my Lizzie Kartchner on-line class project I did a year or two ago. That project you can see at this link.)

We cut, twisted and glittered white felt. (The tall, white rose felt tree is my favorite.)

The hot glue gun was our best friend for this project, since it adheres anything fast and strong. We found cheap votive candles and the "snow" at Michaels.

We found a cheap curtain at Jysk for the table cover.

Using old handmade specialty paper from my scrapbooking stash and quilt batting, we sewed place mats.

After many delightful hours of creative fun, we ended up with this: 


Did I tell you we used Pinterest to gather our ideas? Great place, I highly recommend it. :)

Happy creating! Blessings to you.


Monday, November 14, 2011

Subway ART


Sara saw lots of subway art online, LOVED it, so she figured we could make one ourselves! 
Remember this post?
This is how the finished product looks. :) 
My favorite font is the one that spells, "peace". It's called Modern No.20. (If you care to know.)

Here's a brief summary of how we did it.

1. We designed the poster in FotoFusion.
2. Printed it at Costco. (Cost was $19.99) 
3. Trimmed it to slightly smaller than 24x36 inches.
4. Bought and cut plywood to the same size.
5. Used spray adhesive to adhere the poster to the wood.
6. Used a sander to distress and remove the glossy finish from the photo.
VOILA!
It hangs in my sister's main washroom.


Time to make one for myself! It will be a tall one about TABLE MANNERS for our dining room wall...
Have a great day!

Saturday, January 29, 2011

Scrapbooking and Canned Soup


I'm scrapbooking with my sister-in-law. Canned soup for lunch, toys everywhere, bread crumbs on the living room floor, kids watching Thomas the Tank Engine, etc, etc...we're all having a grand time. If you want food, you have to help yourself.


This LOVE canvas is on my sister's wall. Of course, I made it with my software of choice: FotoFusion.

Saturday, December 11, 2010

Merry and Bright

The Christmas season brings many Christmasy things, so I'm taking a break from creating templates. Come January, I'll start working on them again. 

I just love felt roses! They make great gift toppers, too!

My sister found instructions for these roses here. We had planned on making a cream rose wreath, but then I got to thinking about Christmas. LOL

Tuesday, August 10, 2010

Artsy Canvas Class


A little preview of the canvas I'm working on for a class at my friend's scrapbook store. We'll be using good ol' foam stamps, Stickles, Glimmer Mist, Prima flowers, paint, and more.